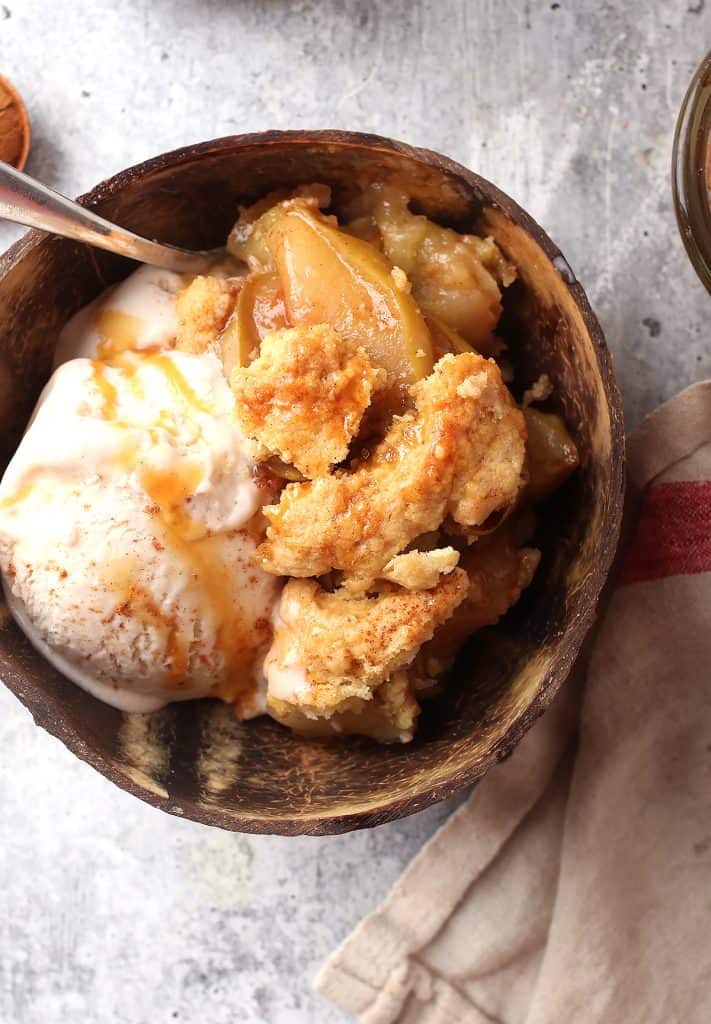
Made with tart green apples and swirled with sweet caramel sauce, this sweet and tart vegan apple cobbler celebrates the flavors of fall. It's a classic vegan dessert perfect for this time of year
This post was originally published on October 12, 2016.
Imagine a perfectly crisp and tart Granny Smith apples coated in cinnamon and brown sugar and topped with sweet drop biscuit topping.
Sounds good, right?
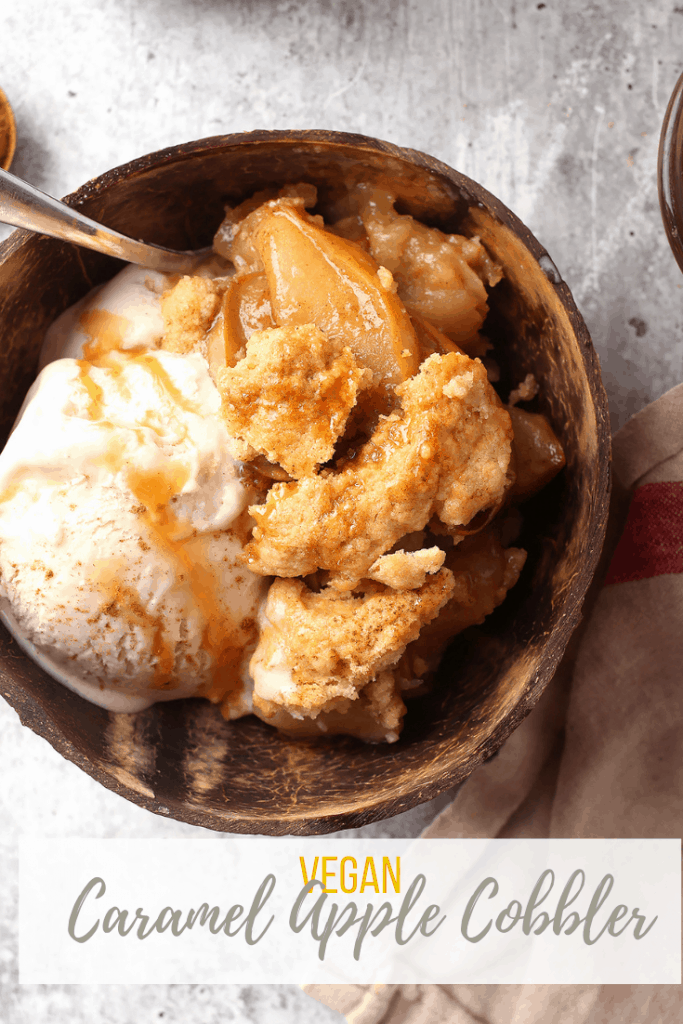
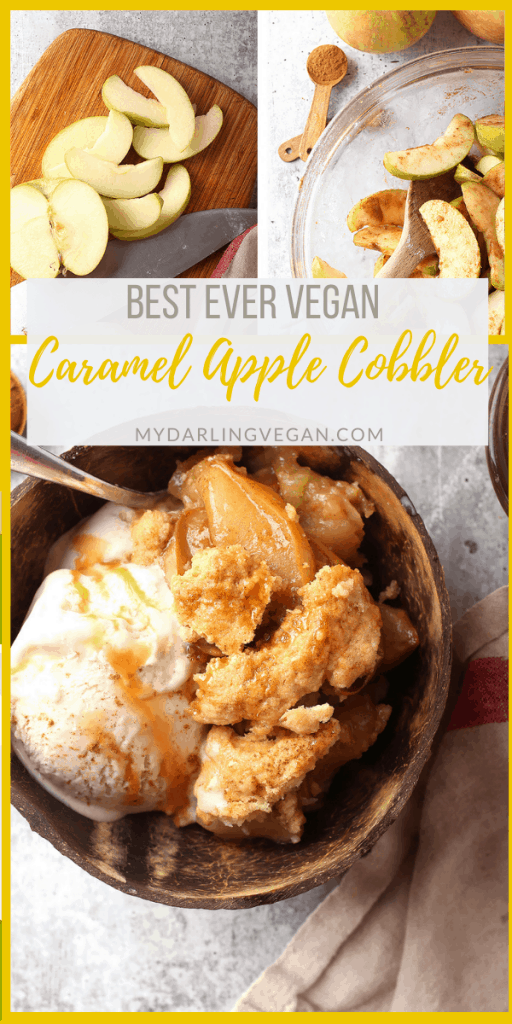
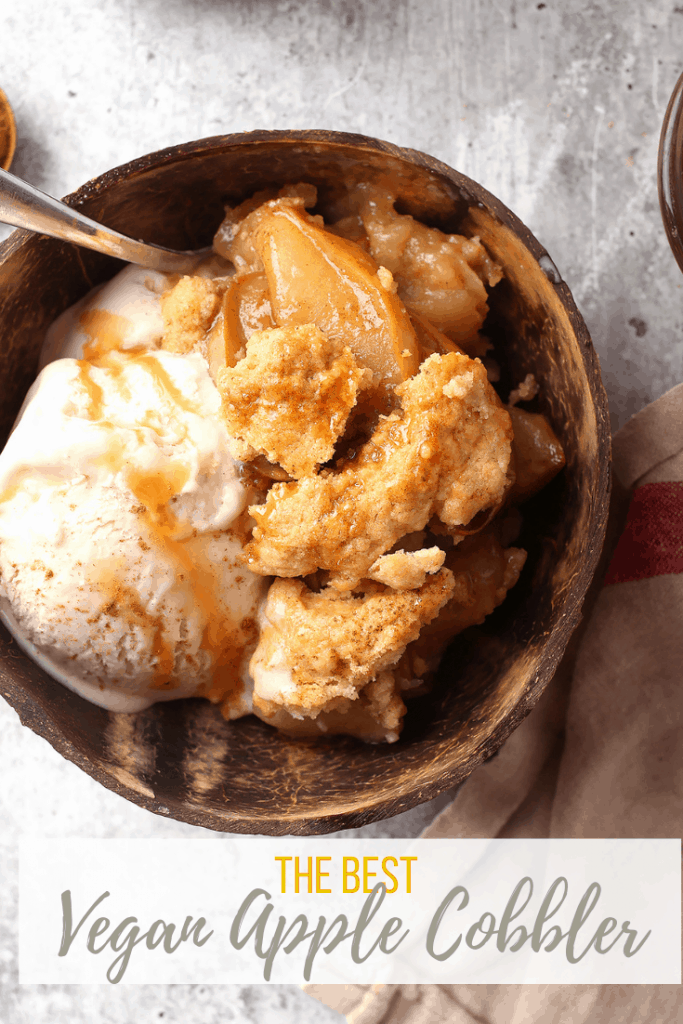
Now imagine the whole thing swirled with creamy vanilla bean ice cream and drizzled with homemade caramel sauce. Yeah, it's pretty much the perfect fall dessert and it goes by the name Vegan Caramel Apple Cobbler.
It’s sweet.
It’s juicy.
And it’s buttery delicious.
And I think you're going to love it.
Ingredients & Substitutions
Cobblers are one of the easiest desserts to make. It’s a matter of coating the fruit, making a sweet biscuit topping, and baking to golden brown perfection.
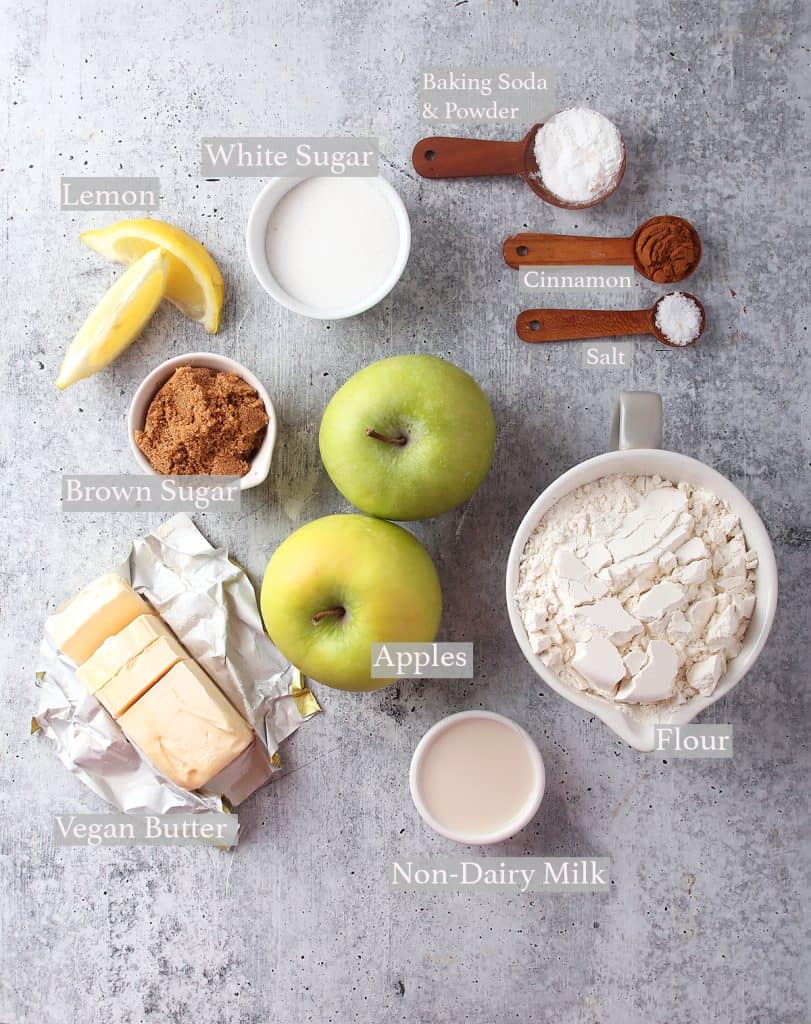
Here is everything you need.
Disclosure: This post may contain affiliate links.
Ingredient Notes
- Apples – I recommend Granny Smith apples but any tart and crunchy apple will do. Honeycrisps and Red Delicious are also great options. Avoid soft apples as they tend to get mushy when baked.
- White and Brown Sugar – Check out my guide to vegan sugars and healthy sugar alternatives.
- All-Purpose Flour - I have also made this cobbler with 1:1 Gluten-Free Flour Baking Blend with great success. (<<affiliate link)
- Non-Dairy Milk – Thick and creamy is best. Soy, cashew, and coconut are the kinds of milk I recommend.
- Vegan Butter – When working with few ingredients, it’s important to use high-quality, non-hydrogenated butter. I suggest using Miyoko’s cultured vegan butter for this recipe. If you can’t find Miyoko’s butter at your local grocery stores, Earth Balance is the best alternative.
Step-By-Step Instructions
Step One - Prepare the Apples
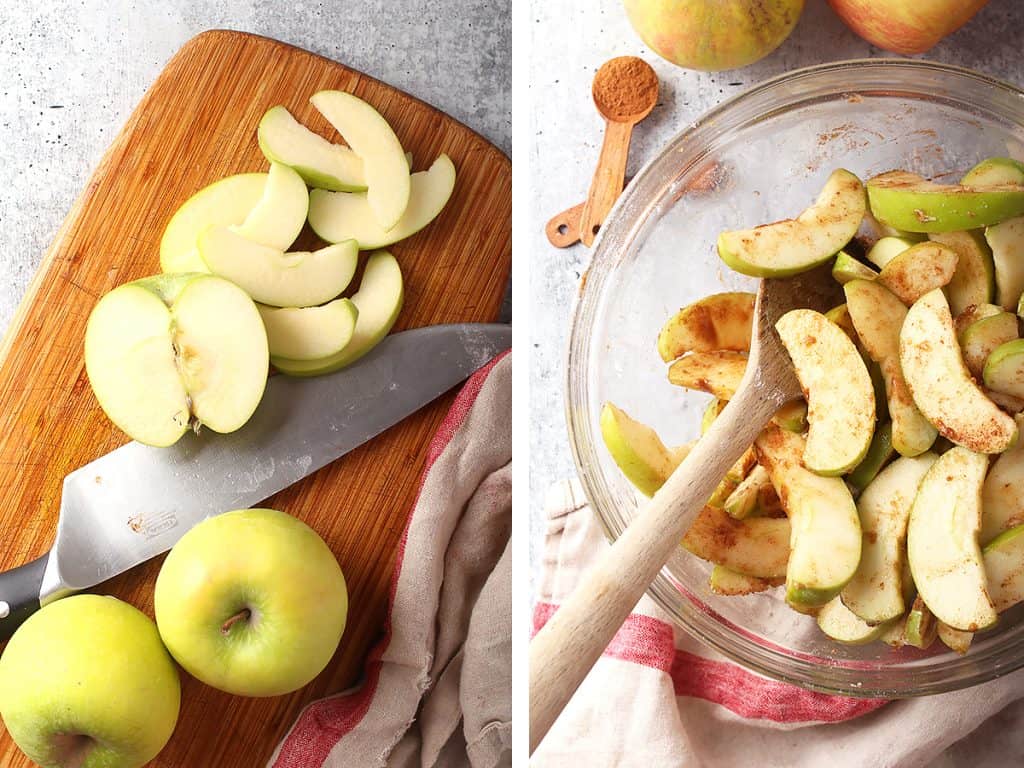
Core and thinly slice the apples. Place them in a large bowl and toss them with cinnamon, brown sugar, flour, salt, and lemon juice. Toss to coat so that all the apples are evenly covered in the flour/sugar mixture.
Transfer the sliced apples to a 3-quart casserole dish and set aside.
Step Two – Make the Drop Biscuit
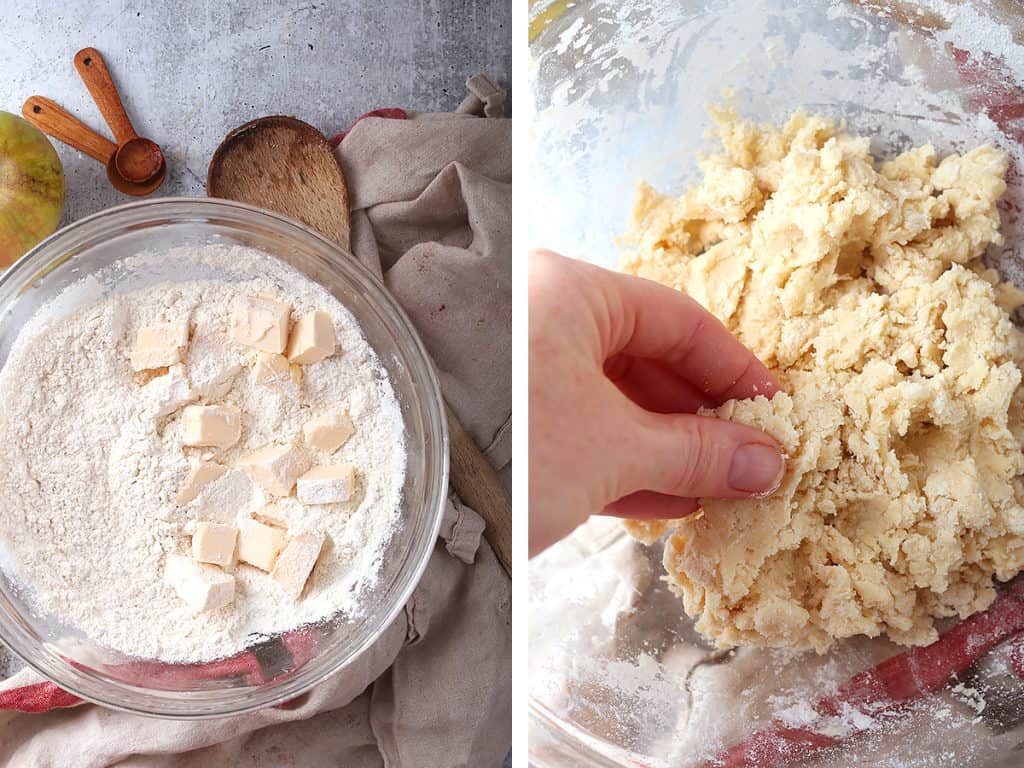
To make the drop biscuit, combine the flour, sugar, baking powder, baking soda, and salt in a small bowl.
Add the butter in small cubes and mix it in with the dough using your fingers or a pastry cutter until small pea-sized pieces have formed. Add the non-dairy milk and stir together until a stiff dough has formed.
Step Three – Assemble and Bake
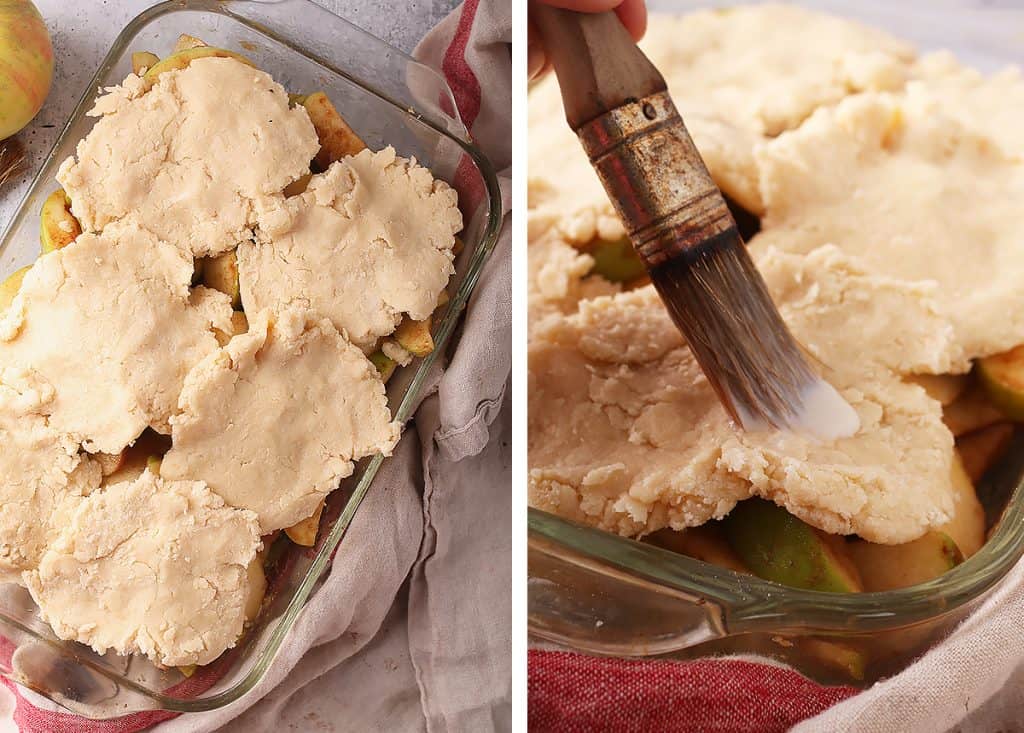
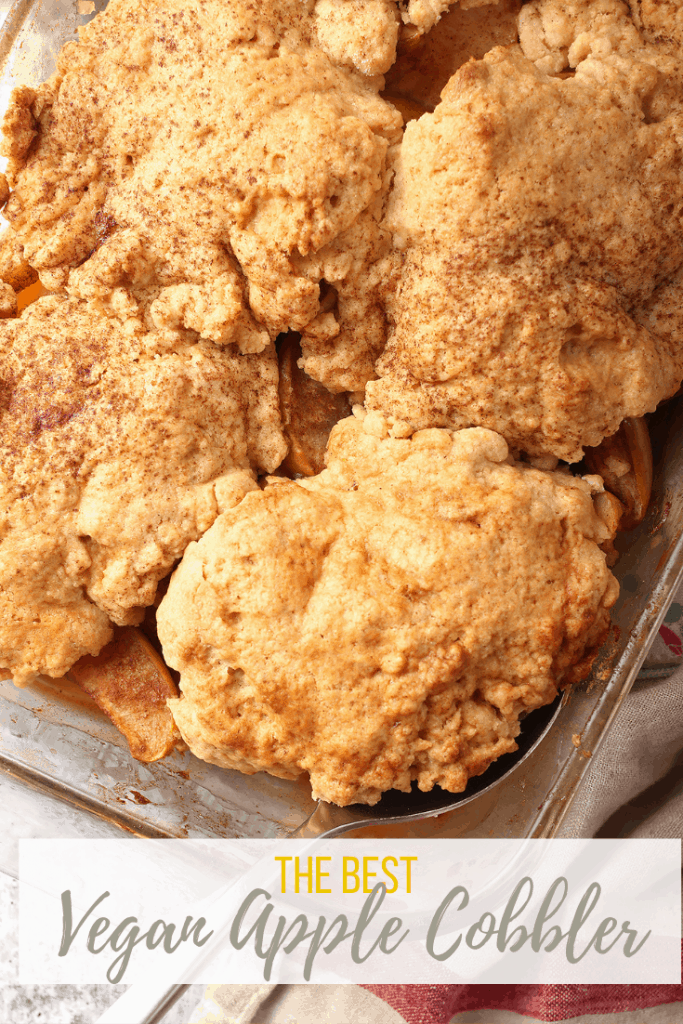
Drop pieces of dough over the apple slices so that it is mostly covered with a large piece of dough. It should resemble a cobbled road.
Did you know? Cobbler gets its name from the drop biscuit topping which is meant to resemble a cobbled road.
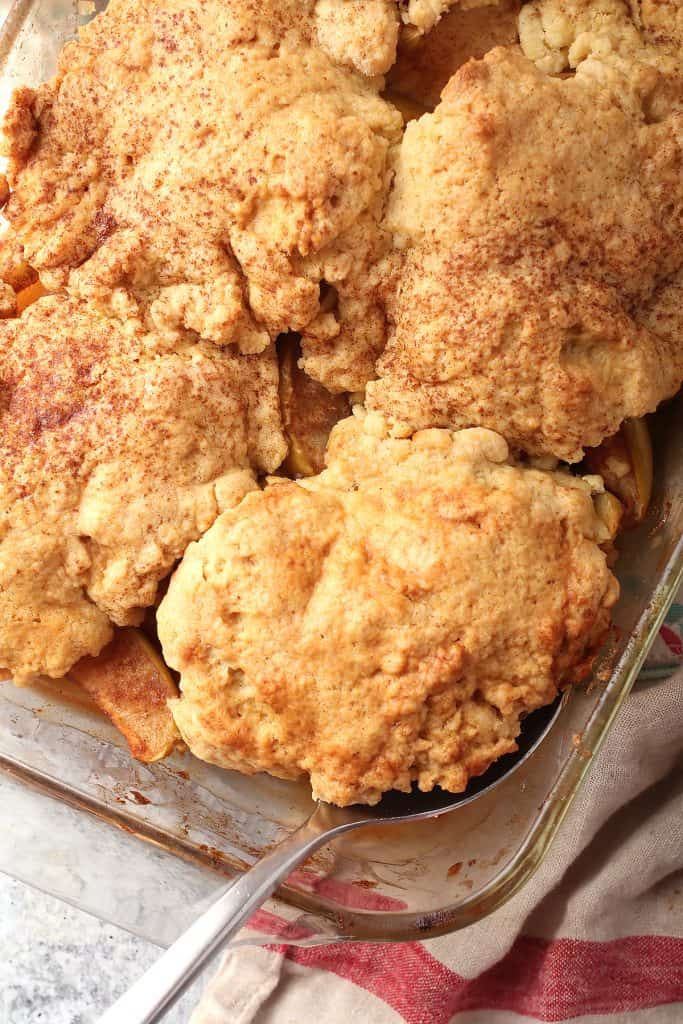
Brush additional non-dairy milk over the drop biscuits and sprinkle with coarse sugar. Bake the cobbler until the apples are bubbling up and the dough is golden brown.
Serving And Storing
Serving – Let the cobbler sit for at least 20 minutes once out of the oven. This gives the syrup time to cool and thicken into a nice compote. Serve the cobbler with coconut whipped cream or your favorite non-dairy ice cream. Top with homemade caramel sauce and serve.
Storing – Store leftover cobbler in an airtight container in the refrigerator for up to 2 days.
Tips And Tricks
- For the best biscuit topping, you will want to make sure your dough is fairly dry and crumbly. Add only enough liquid for the dough to come together. If it’s too wet, it will lose its buttery flakiness.
- For best flavor, use high-quality vegan butter. I suggest using Miyoko’s cultured vegan butter for this recipe.
- For a gluten-free alternative, use a 1:1 baking flour blend.
- The caramel sauce is completely optional. It stores well and is nice to have on hand. Make a batch and keep in in your refrigerator all season long.
Frequently Asked Questions
Why, yes! It can. If you want to prepare this apple cobbler in advance but don’t want soggy biscuits, you can prepare the filling and biscuit separately.
Instead of layering the biscuit over the apples, add it to a parchment-lined baking sheet and bake until golden brown. Make the filling as well, according to the recipe instructions. Once out of the oven, let the biscuit cool completely before storing it. The apples can be covered and stored in the refrigerator. The topping should be stored in an airtight container at room temperature.
To ensure that the filling properly thickens, make sure to cook your cobbler until the juices are bubbling over. Flour is activated in heat and won’t thicken unless the internal temperature reaches a boiling point. Your cobbler filling will continue to set as it cools so let your dessert cool completely before serving.
Use a crisp tart apple that holds together when baked. I recommend Granny Smith apples but any tart and crunchy apple will do. Honeycrisps and Golden Delicious also work well.
More Vegan Crisps and Cobblers
- Classic Cherry Cobbler
- Vegan Peach Cobbler
- Blackberry Bourbon Crisp
- Vegan Fruit Tarts
- Perfect Vegan Apple Pie
Vegan Apple Cobbler
Ingredients
Apple Cobbler Filling
- 4 large Granny Smith apples, thinly sliced
- ¼ cup brown sugar
- 2 tablespoons all-purpose flour
- ½ teaspoon cinnamon
- ¼ teaspoon salt
- juice from ½ of a lemon
Apple Cobbler Topping
- 1 ½ cup all-purpose flour
- ¼ cup white sugar
- 1 teaspoon baking powder
- ½ teaspoon baking soda
- ½ teaspoon salt
- ½ cup vegan butter
- ¼ cup non-dairy milk
Toppings (Optional)
- Caramel Sauce
- Non-Dairy Vanilla Ice Cream
Instructions
- Preheat the oven to 375 degrees F.
- Core and thinly slice the apples. Place them in a large bowl and toss them with cinnamon, brown sugar, flour, salt, and lemon juice. Toss to coat so that all the apples are evenly covered in the flour/sugar mixture. Transfer the sliced apples to a 3-quart casserole dish and set aside.
- In a separate mixing bowl, combine flour, remaining ¼ cup sugar, baking powder, baking soda, and salt. Add the butter in small cubes and mix it in with the dough using your fingers until small pea-sized pieces have formed. Add non-dairy milk and stir together until a stiff dough has formed. You may need to add a little more milk. If so, add it 1-2 teaspoons at a time.
- Drop pieces of dough onto the apple mixer so that it is mostly covered with a large piece of dough. Brush additional non-dairy milk over the drop biscuits and sprinkle with coarse sugar. Bake for 35-45 minutes until the top is lightly browned and the juices are bubbling over.
- Removed from oven and serve with caramel sauce and non-dairy vanilla ice cream.
Notes
- For the best biscuit topping, you will want to make sure your dough is fairly dry and crumbly. Add only enough liquid for the dough to come together. If it’s too wet, it will lose its buttery flakiness.
- For a gluten-free alternative, use a 1:1 baking flour blend.
- The caramel sauce is completely optional. It stores well and is nice to have on hand. Make a batch and keep in in your refrigerator all season long.
- Why won't my filling thicken? To ensure that the filling properly thickens, make sure to cook your cobbler until the juices are bubbling over. Flour is activated in heat and won’t thicken unless the internal temperature reaches a boiling point. Your cobbler filling will continue to set as it cools so let your dessert cool completely before serving.
- What type of apples should I use? Use a crisp tart apple that holds together when baked. I recommend Granny Smith apples but any tart and crunchy apple will do. Honeycrisps and Golden Delicious also work well.
 Hi, I’m Sarah. I’m a 14-year (and counting) vegan, professionally trained photographer, former pastry chef, founder of My Darling Vegan, and author of the
Addy says
Love this cobbler. I’ve made it at least 6 times now.