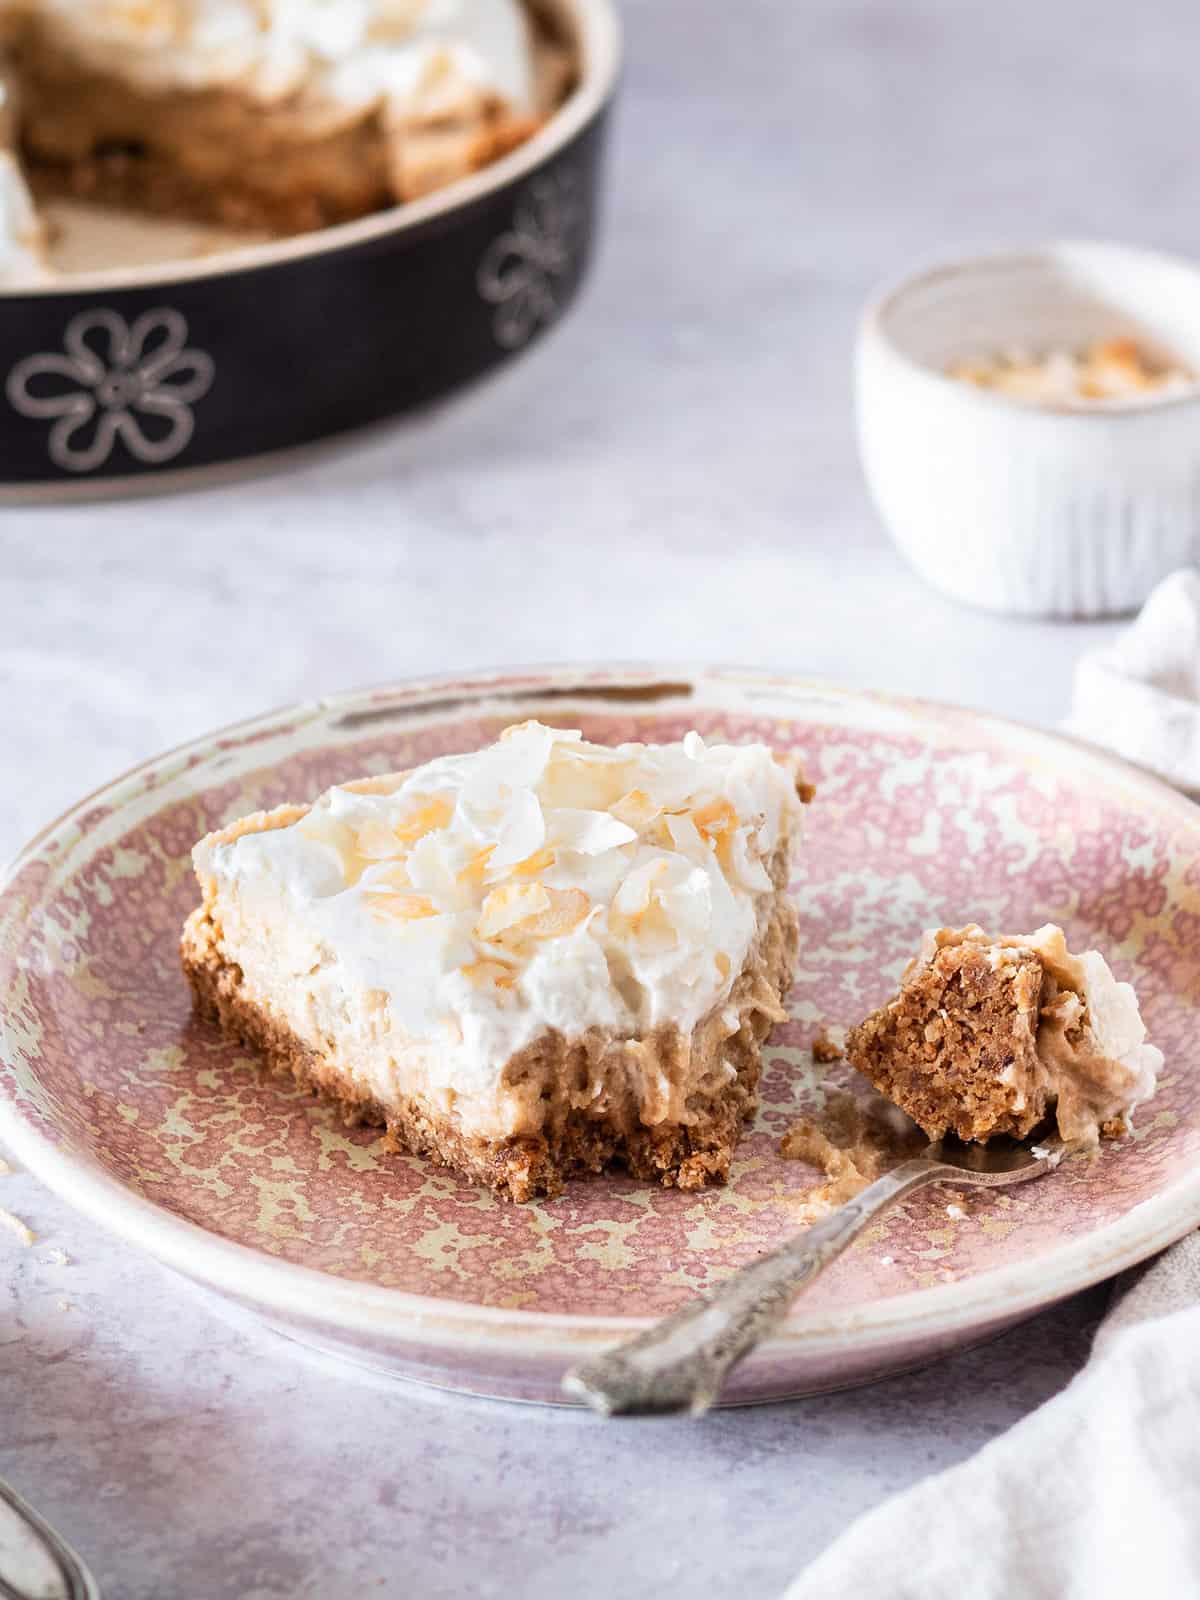
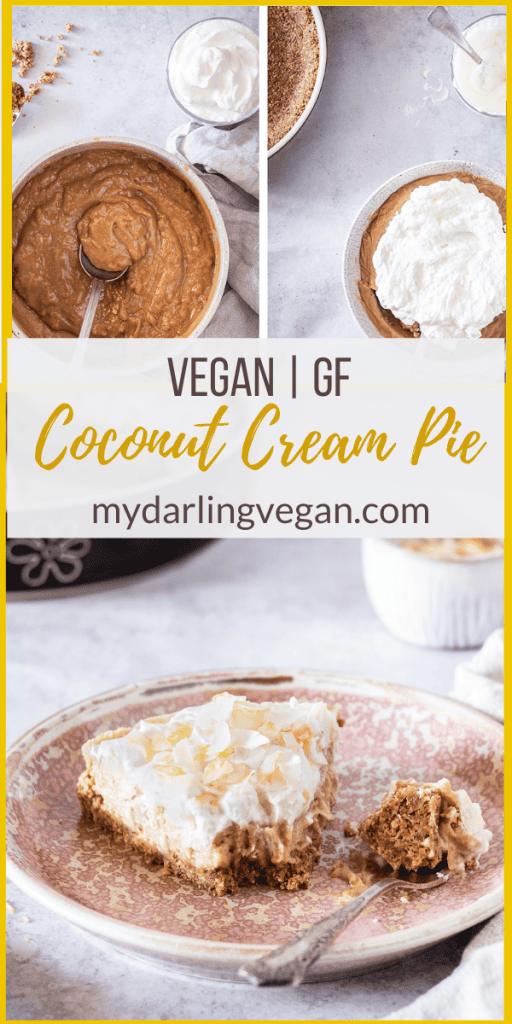
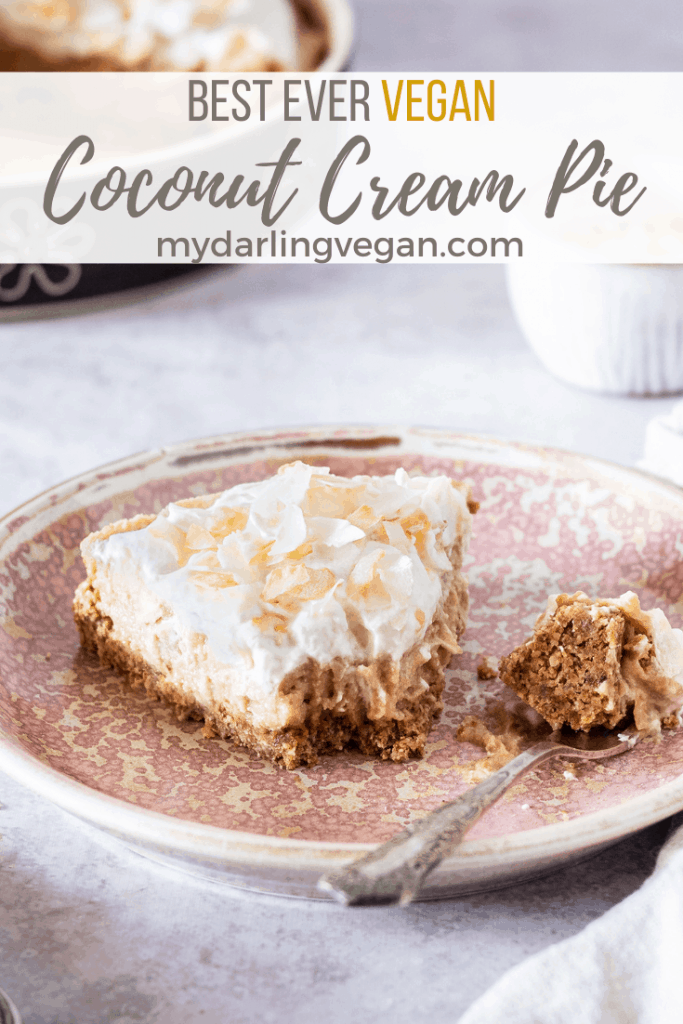
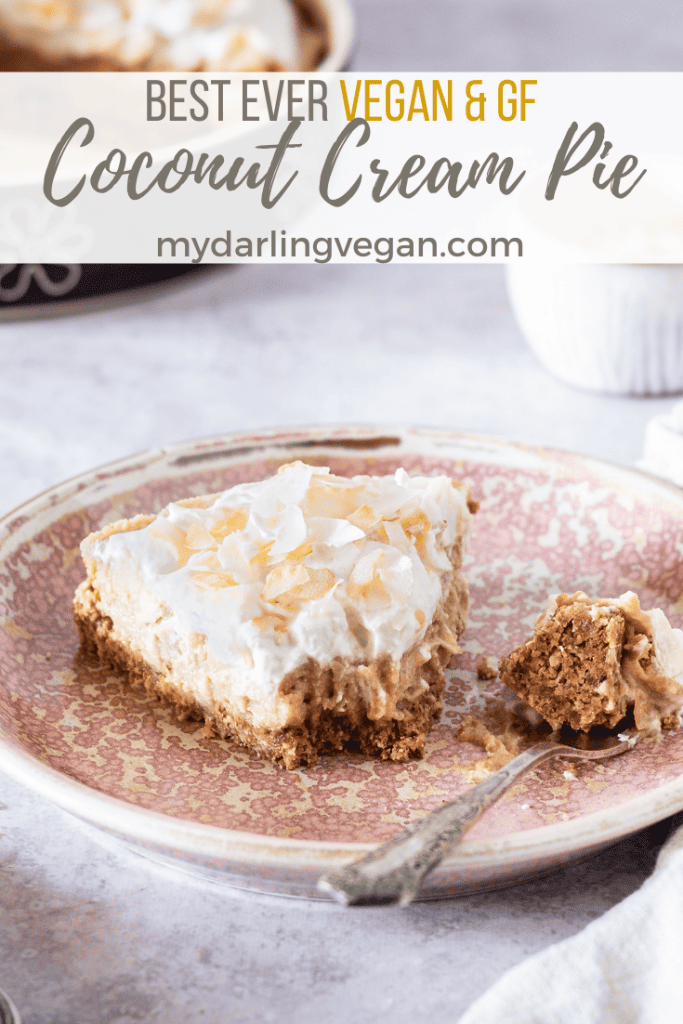
Sweet, thick, and creamy. This healthy, vegan coconut cream pie dessert is just what you need to cool down this summer. It has rich coconut flavors and a nut and oat pie crust giving it a healthy twist. Watch this gluten-free vegan dessert disappear in seconds!
Disclosure: This post may contain affiliate links.
If you are a coconut fan then this dairy-free coconut cream pie is for you! Coconut cream pie is a classic decadent dessert enjoyed by many. The combination of the thick, creamy, coconut filling and textured nutty base makes this dessert a crowd-pleaser perfect for summer picnics, potlucks, and grill-outs.
No need to feel guilty after a slice of this vegan coconut cream pie dessert either. Skip the traditional flour-based pie crust and make an almond nut and oat base instead. Fill this healthy pie crust with a delicious whipped coconut cream mixture and don't forget to top it with coconut chips when serving!
As an added bonus, this coconut cream pie only takes 35 minutes to prepare. Let the freezer do the rest of the work!
Recommended Ingredients & Equipment
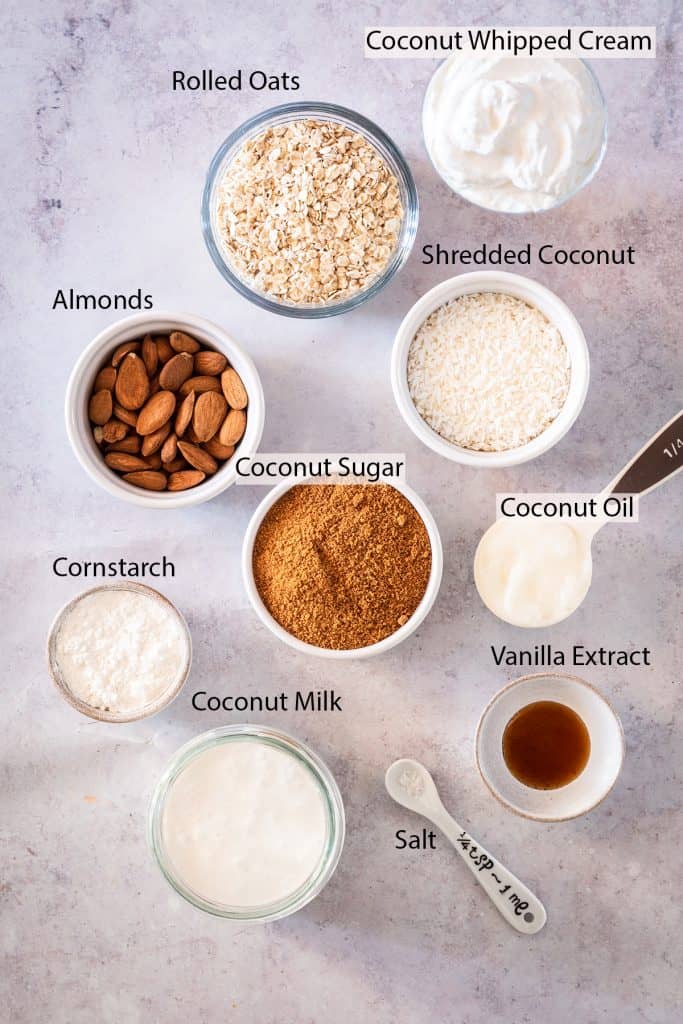
This creamy and tasty vegan pie tastes just like the real thing. It is made with a variety of easy-to-find ingredients and household staples. You might already have everything on hand!
Here’s everything you’ll need:
Ingredient Notes
- Almonds - It is better to use toasted almonds for this recipe as they add a delicious nutty flavor and are easier to blend.
- Coconut Sugar - This recipe calls for coconut sugar as it enhances the coconut flavor. For other sweetener options, check out my guide to vegan sugars.
- Oil - Coconut oil is used to stick all of the pie crust ingredients together and help it to stay firm. Using coconut oil will also add more coconut flavor to this dessert.
- Coconut Whipped Cream - To make coconut whipped cream, whip up coconut solids with a handheld mixer. Use good quality coconut milk for the best results.
Recommended Equipment
For this recipe, you’ll need an 8" pie pan, food processor, and a saucepan. For the coconut cream pie filling, you will need a handheld or stand-up mixer. (<<affiliate links)
Step-by-Step Instructions
Step One - Make Pie Crust
Preheat the oven to 350F. Lightly spray an 8" pie pan and set aside.
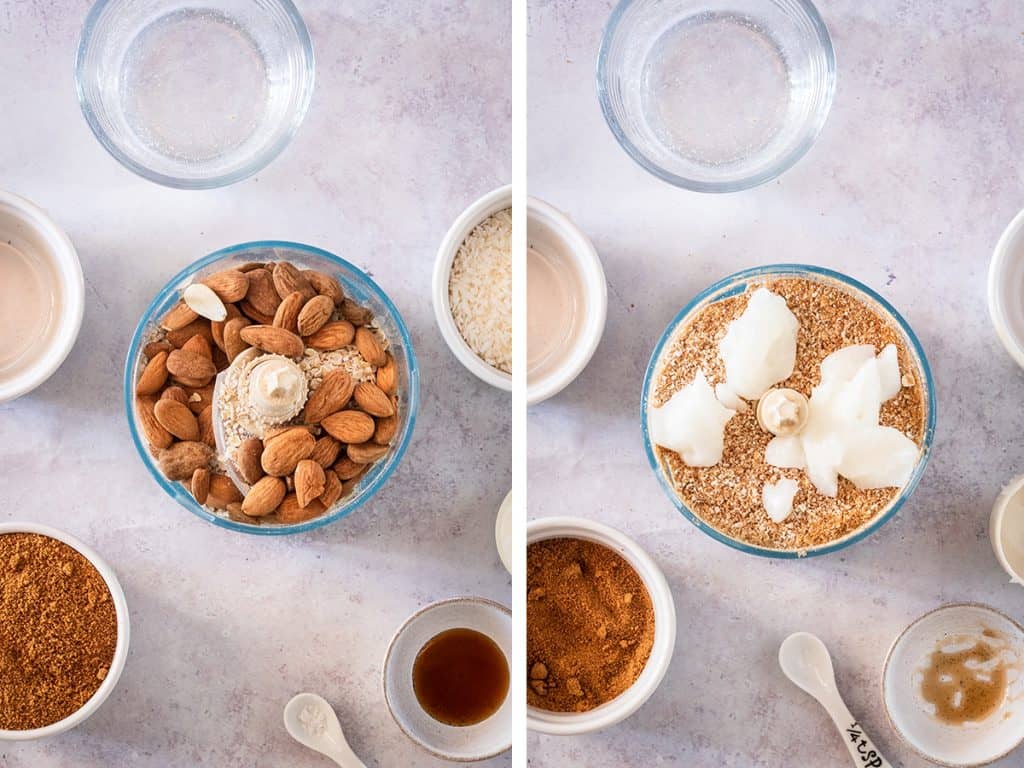
In a food processor, combine the oats, almonds, shredded coconut, coconut sugar, salt, and vanilla extract and pulse a few times, until a fine meal forms. While the motor is still running, slowly add in the coconut oil until it is completely incorporated.
Pro Tip: It is best to use toasted almonds to enhance the flavor. Added bonus, they are easier to blend in comparison to raw almonds. If you have raw almonds then you can roast them in the oven at 325F for 10-15 minutes and allow them to cool down before blitzing.
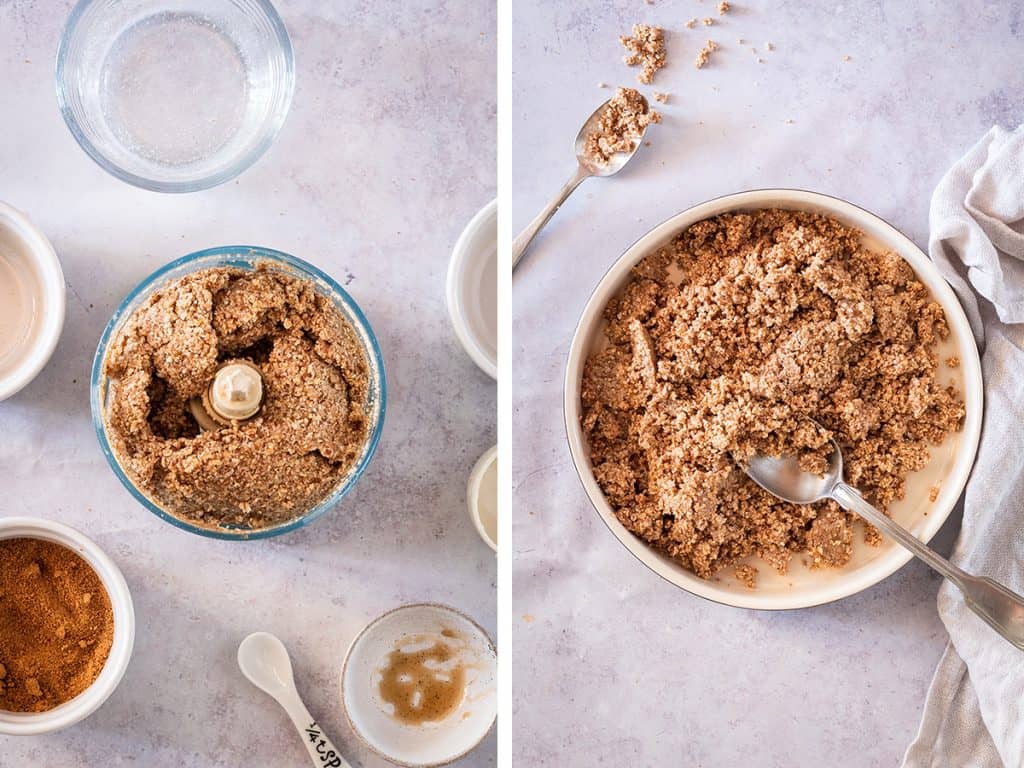
Blend the ingredients together until they stick together when pressed between your fingers. If the crust feels to crumbling, add 1-2 teaspoons of water.
Transfer the crust mixture to your prepared pie pan and evenly spread it across the bottom and up the edges. The crust should be about ¼" thick. Place it in the oven and bake for 15 minutes until golden brown and fragrant. Remove it from the oven and leave it to cool at room temperature while you make your filling.
Pro Tip: Make sure the crust is spread evenly throughout the pie pan. If not then the pie crust may crack or fall apart when serving.
Step Two – Make the Filling
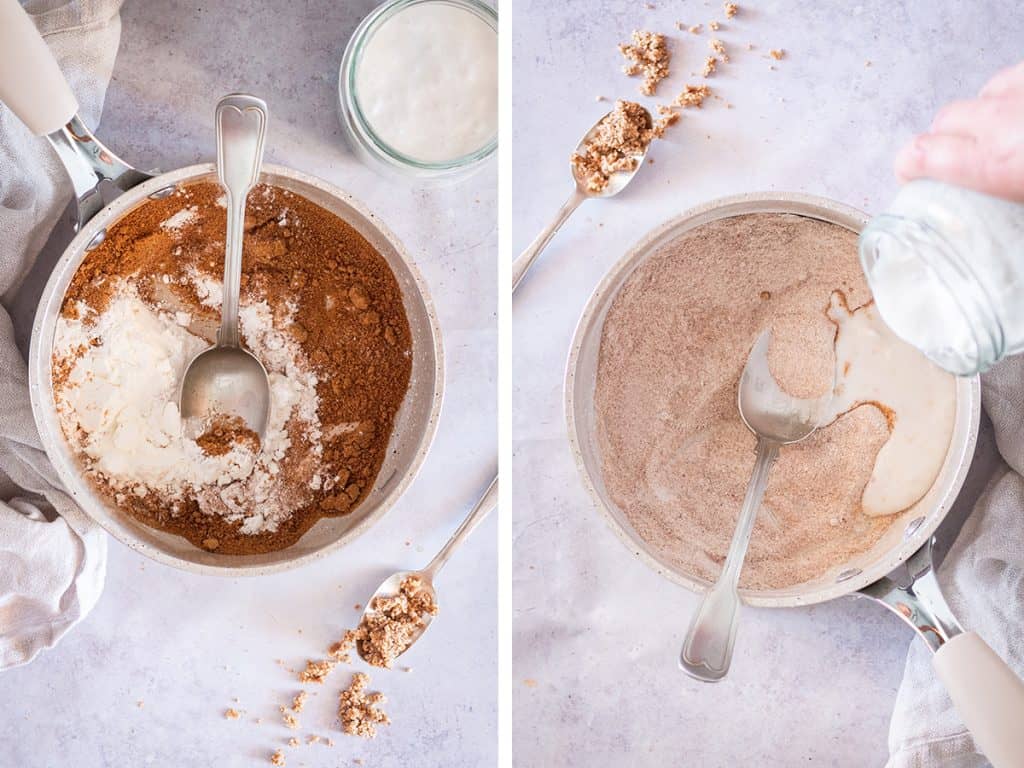
To make your filling, combine cornstarch and coconut sugar and whisk in the coconut milk and vanilla extract. Place the mixture over medium heat and cook until it starts to thicken for about 7-8 minutes and whisk frequently.
Remove the mixture from the heat, transfer to a bowl, cover and refrigerate for half an hour, until chilled.
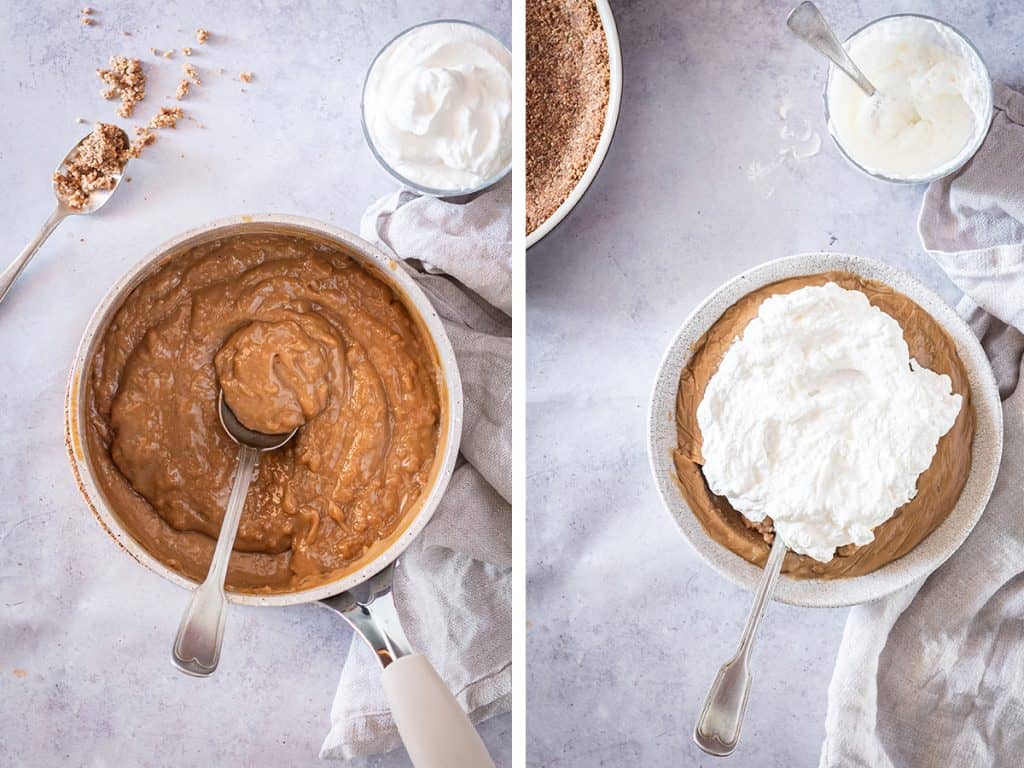
Once it's chilled, slowly add the coconut whipped cream and stir until it's incorporated. Incorporate the whipped cream as gently as possible to avoid deflating the filling.
Spread the filling evenly over chilled pie crust. Return to the refrigerator and chill for at least 4 hours or until the pie is set.
Serving and Storing
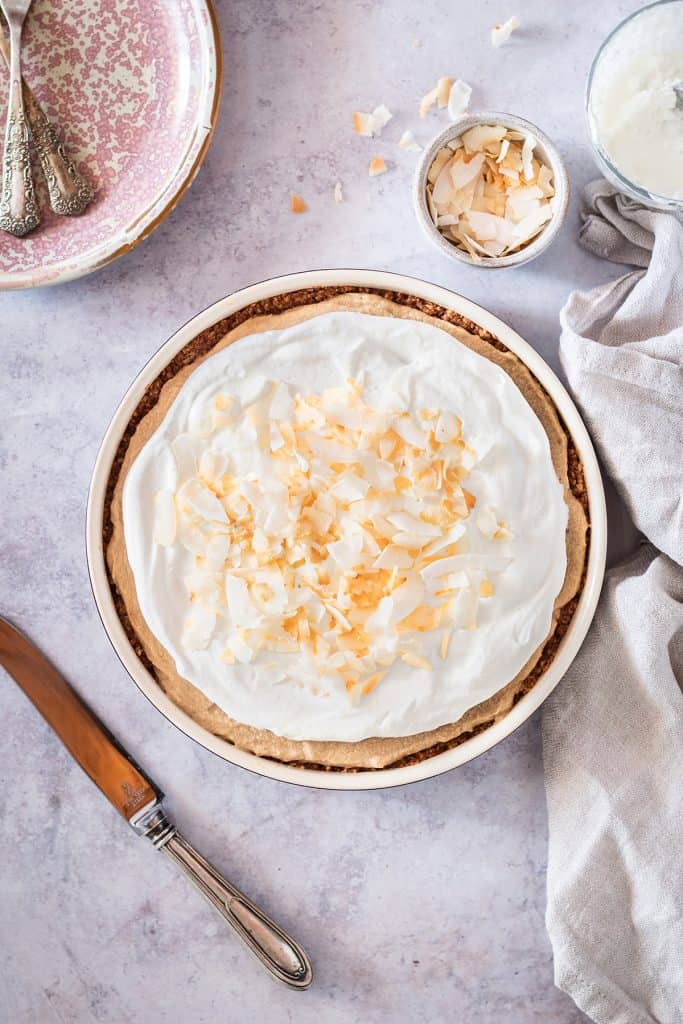
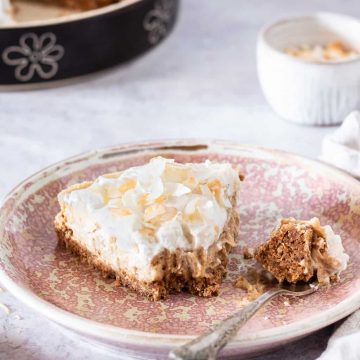
Serving - Top the pie with coconut chips and serve with whipped cream. Serve chilled.
Storing - Vegan coconut cream pie dessert should be stored in the refrigerator until you are ready to serve it. Leftover pie should be tightly wrapped and stored in the refrigerator for up to 4 days or the freezer for up to 1 month.
Tips and Tricks
- Do not bake the pie crust above 350F. Anything higher will bake your pie too quickly, unevenly, and may even result in burning.
- Your crust will start to brown if you bake it for too long. The pie crust should be done after 15 minutes. If not check it every two minutes to make sure it doesn't burn.
- Let the pie cool completely at room temperature before adding the coconut cream filling to it. If the crust is still warm, the chilled coconut cream may melt. Chill the pie crust for at least 4 hours or overnight.
- Make sure your coconut cream filling is thick. Whisk the coconut cream filling frequently on medium heat until it thickens as you don't want the filling to have a loose consistency.
Frequently Asked Questions
Yes, you certainly can freeze coconut cream pie. Cover freshly made vegan coconut cream pie tightly with foil or plastic wrap and freeze for up to 1 month. If you want to refrigerate your coconut cream pie then wrap it tightly with plastic wrap or foil and store it for 4 days.
No, coconut cream and coconut milk are not the same, they are slightly different. Coconut cream is much thicker than coconut milk and is made by simmering shredded coconut with water. Coconut milk is dairy-free and is made from pulp, flesh or meat of the coconut and is blended with water to make coconut milk. Coconut milk has a looser consistency.
Your coconut cream pie might not be setting because the cream filling isn't thick enough. If this is the case then you can leave it to chill in the refrigerator or freezer until it sets.
More Vegan Pie Recipes
- Vegan Cherry Pie Cups
- Vegan Chocolate Hazelnut Pie
- Perfect Vegan Apple Pie
- Creamy Vegan Chocolate Pie (Gluten-Free!)
Healthy Coconut Cream Pie
Ingredients
Pie Crust
- 1 cup rolled oats
- ½ cup almonds
- ½ cup shredded coconut, unsweetened
- ¼ cup coconut oil, softened
- ¼ cup coconut sugar
- 1 tsp. vanilla extract
- pinch of salt
Coconut Filling
- 3 tbsp. cornstarch
- ½ cup coconut sugar
- 1 can full-fat coconut milk
- 1 tsp. pure vanilla extract
- ½ cup coconut whipped cream
Toppings
- coconut whipped cream sliced
- toasted coconut chips
Instructions
- Preheat the oven to 350F. Lightly spray an 8" pie pan and set aside.
- In a food processor, combine the oats, almonds, shredded coconut, coconut sugar, salt, and vanilla extract and pulse a few times, until they form a fine meal. With the motor running, slowly add in the coconut oil until it is completely incorporated. The crumbs should stick together when pressed between your fingers. Transfer the crust mixture to your prepared pie pan and evenly spread it across the bottom and up the edges. The crust should be about¼" thick. Place it in the oven and bake for 15 minutes. Remove from the oven and let the crust cool while making your filling.
- To make your filling, in a small saucepan combine cornstarch and coconut sugar and whisk in the coconut milk and vanilla extract. Place over medium heat and cook until it starts to thicken (about 7-8 minutes), whisking frequently. Remove from heat, transfer to a bowl, cover and refrigerate for half an hour, until chilled.
- Once it's chilled, slowly add the coconut whipped cream and stir until it's incorporated. Spread evenly over chilled pie crust. Return to the frigerator and chill for at least 4 hours or until the pie is set.
- Serve with coconut whipped cream and coconut chips.
Notes
- Do not bake the pie crust above 350F. Anything higher will bake your pie too quickly, unevenly, and may even result in burning.
- Let the pie cool completely at room temperature before adding the coconut cream filling to it. if you do not then the chilled coconut cream filling may melt. Chill the pie crust for at least 4 hours or overnight.
- Make sure your coconut cream filling is thick. Whisk the coconut cream frequently on medium heat until it thickens as you don’t want the filling to have a loose consistency.
 Hi, I’m Sarah. I’m a 14-year (and counting) vegan, professionally trained photographer, former pastry chef, founder of My Darling Vegan, and author of the
Leave a Reply