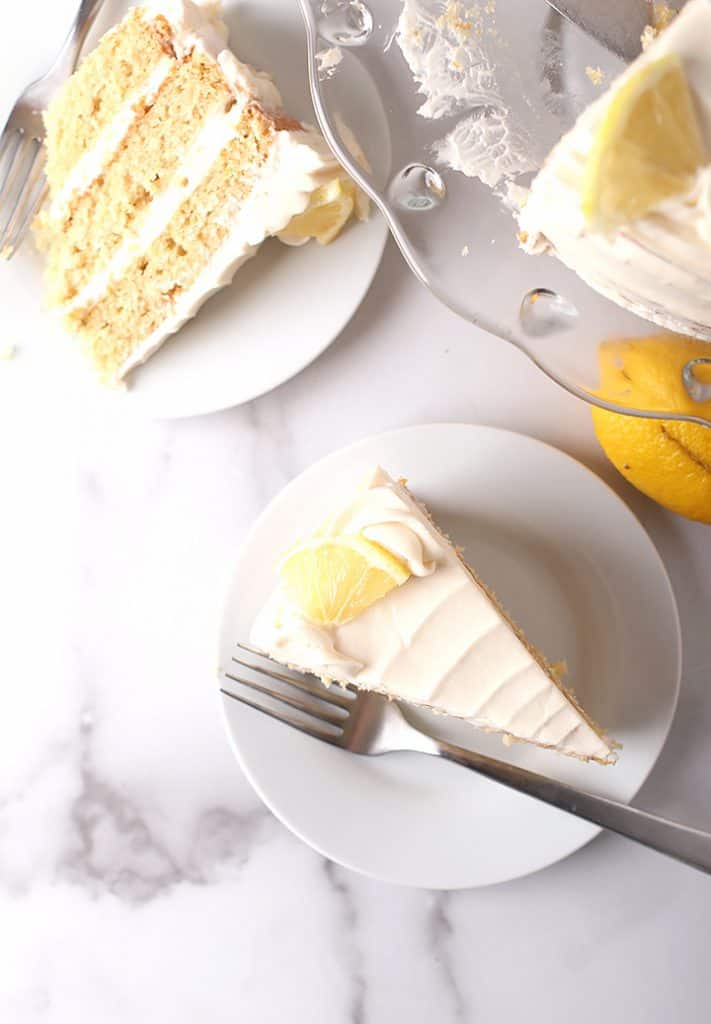
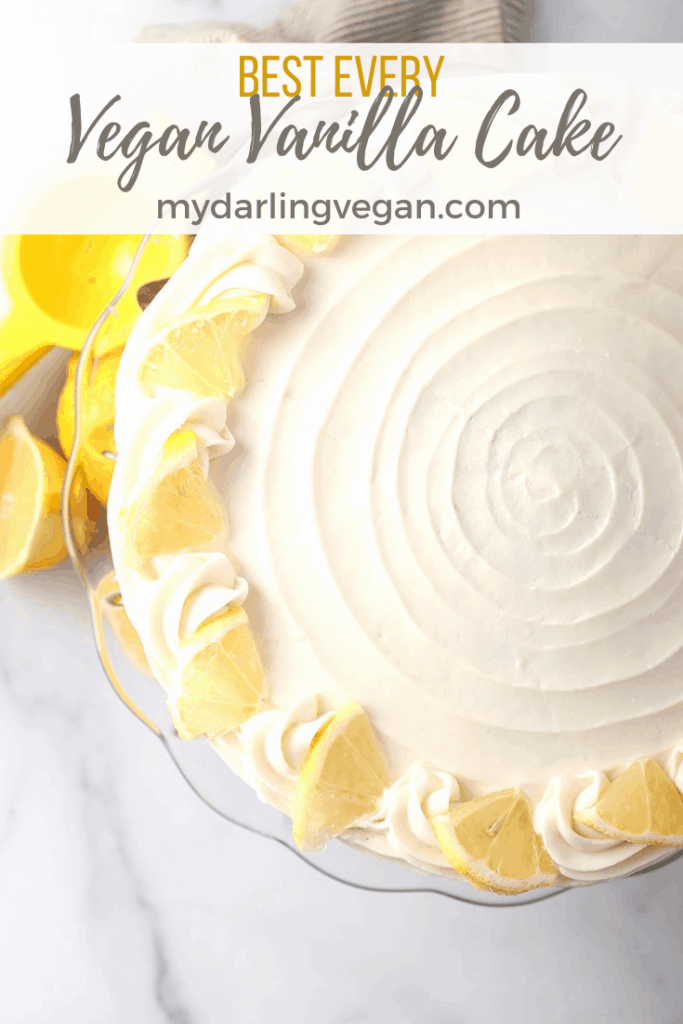
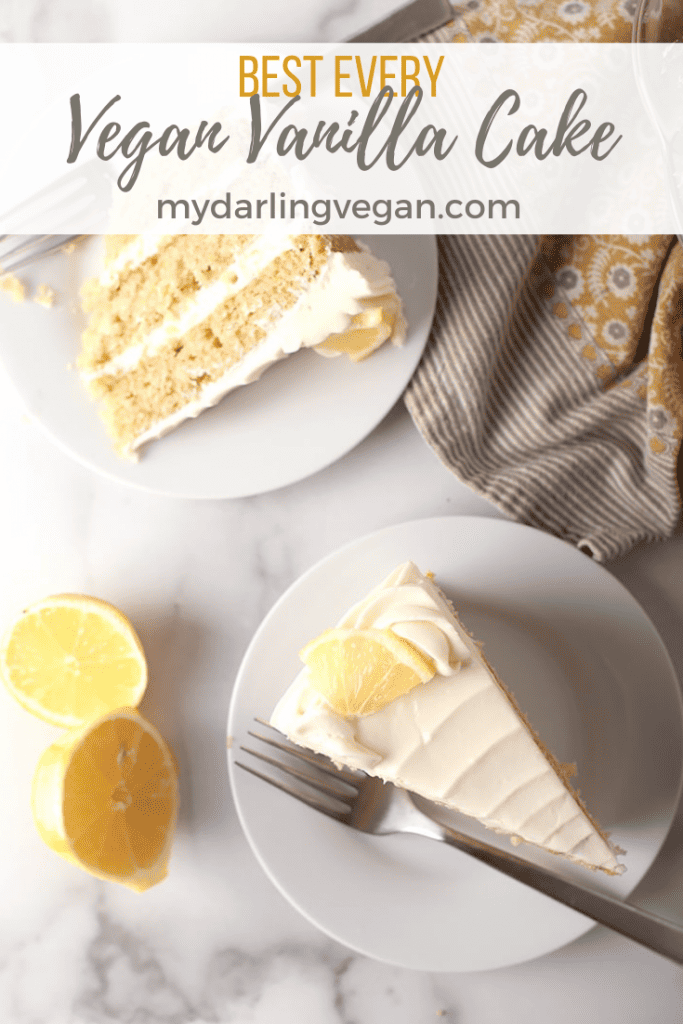
This vegan vanilla cake is unbelievably delicate and moist. Made with applesauce for an easy and delicious cake that everyone will love and NO ONE will believe is vegan. Fail-proof and a total crowd pleaser.
Disclosure: This post may contain affiliate links.
Who’s ready to celebrate with me? What’s the occasion, you ask. Oh, just another beautiful day in April. Spring is here. The sun is out. And I’m making cake to celebrate the end of a long, dark winter.
Ever since sharing my vegan chocolate cake, I've been getting requests to make a vegan vanilla cake recipe. I heard you and I responded. This is one of the most tested recipes I've ever shared on the blog. I worked hard to get this cake just perfect before sharing them with you. And I'm so glad I did.
It is tender, moist, perfectly sweet, and so good that you will fool vegans and omnivores alike. Best of all, the recipe is nearly fail-proof!
Recommended Ingredients & Substitutions
This easy, fool-proof vanilla cake recipe is made with simple, straight-forward ingredients for a fluffy and delicate cake that is lightly sweetened and filled with delicious vanilla flavor.
Here is everything you need.
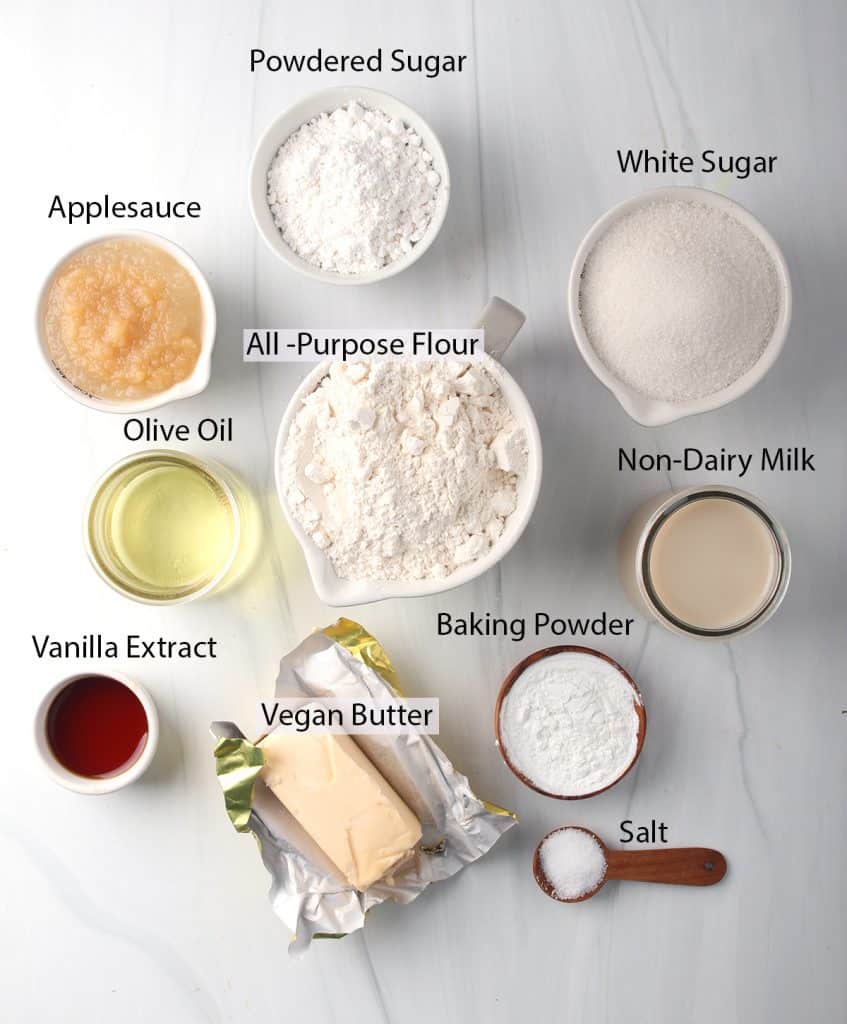
- All-Purpose Flour - For a gluten-free alternative, try a gluten-free 1:1 flour blend.
- Powdered & Granulated Sugar - Check out my guide to vegan sugars and alternative sugar replacements. For a healthier sugar alternative, I recommend coconut sugar.
- Oil – This recipe calls for canola oil because it creates the best texture without added flavor. If you want to avoid hydrogenated oils, try avocado or melted coconut oil. Olive oil also works but adds a slightly savory flavor. If you want to eliminate the oil altogether, swap it out for the same amount of applesauce.
- Non-Dairy Milk - I recommend choosing a thick neutral flavored milk such as soy, almond, or cashew milk but any non-dairy milk will do.
- Applesauce - This is the binder of the recipe. Applesauce works the best but if you don't have access to it, check out my guide on replacing eggs. I also recommend trying a chickpea egg (equivalent to one egg) or equal amounts of non-dairy yogurt.
- Vegan Butter - Look for a high-quality non-hydrogenated vegan butter. I recommend either Earth Balance or Miyoko’s.
Recommended Equipment
For this recipe, you’ll need basic kitchen equipment such as a mixing bowl, utensils, and a 9″ cake pan. For the frosting, a handheld or stand-up mixer is ideal. (<<affiliate links)
Step-by-Step Instructions
Step One – Prepare the pan
Preheat your oven to 350 degrees Fahrenheit.
As the oven heats, line (1) 8” or 9″ cake pan with parchment paper. To get an even circle, place the bottom of a cake pan on top of a large piece of parchment paper. Trace around the bottom of the pan and carefully cut out the circle so that it neatly fits inside. Spray the pan with cooking spray and set it aside.
Step Two - Make the Cake
With a large sifter, sift together the dry ingredients. That’s the flour, vegan sugar, baking powder, and salt.
Pro Tip: The most accurate way to measure flour is to spoon it into your measuring cup, leveling it off with the back of a knife.
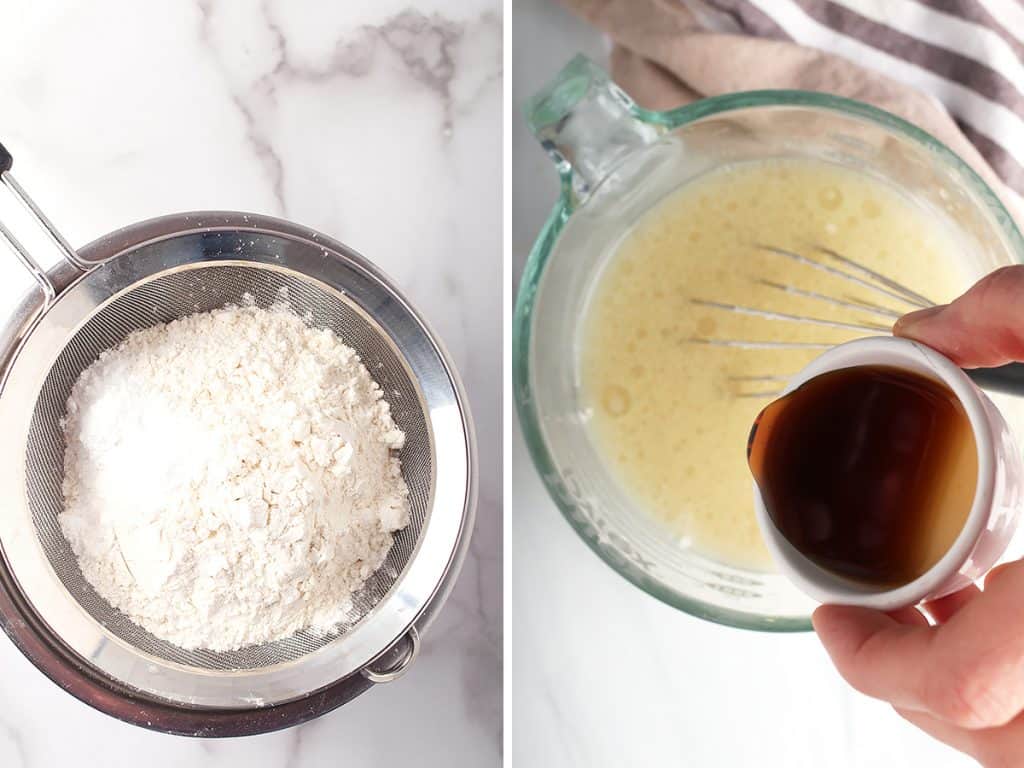
In a separate bowl, combine the non-dairy milk (I use soy milk but any milk should do), oil, water, applesauce, and vanilla extract. Add the wet ingredients to the dry ingredients and mix together until you have a smooth, evenly hydrated batter.
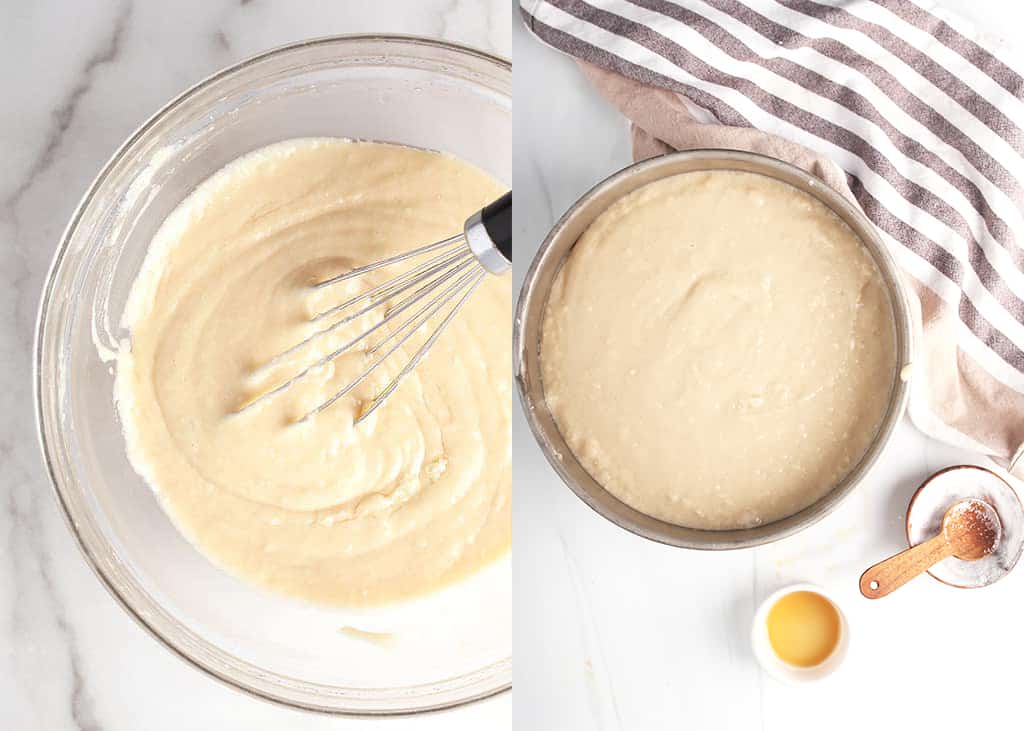
Transfer the batter evenly into the prepared cake pans and bake for 50-60 minutes. When the cake is done, you’ll notice that it has begun to pull away from the edges slightly. At that point, you can insert a toothpick into the center. If it comes out clean, then it’s all ready to go!
Once the cake is ready, remove it from the oven and let it cool for at least 30 minutes in the cake pan before flipping it out onto a wire cooling rack. This is very important as the structure of the cake is still firming up. If you flip it over too early, it may fall apart or stick to the pan. Let the cake continue cooling on a wire cooling rack until it is completely cool. At this point, you can place the cake in the refrigerator to cool it faster.
Step Three - Decorate the Cake
In a stand-up mixer, using your paddle attachment, cream the vegan butter on high for 3 minutes, scraping down the sides as necessary. Turn the mixer to low and slowly add powdered sugar. Once the powdered sugar is incorporated, turn the mixer back up to high and beat for another 3-5 minutes until thick and creamy.
Turn down mixer, add non-dairy milk and vanilla extract and beat until combined.
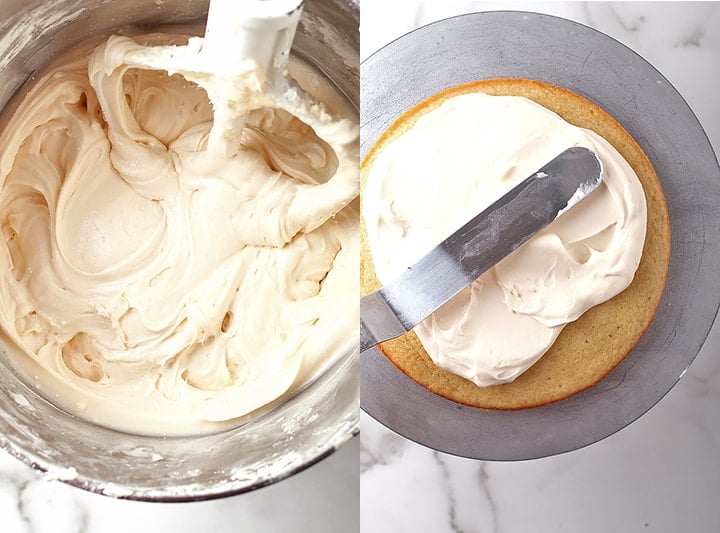
Pro Tip: Make sure your butter is at room temperature when you add it to the mixer. If the butter is too cold, it won't incorporate into the powdered sugar and your buttercream will be lumpy.
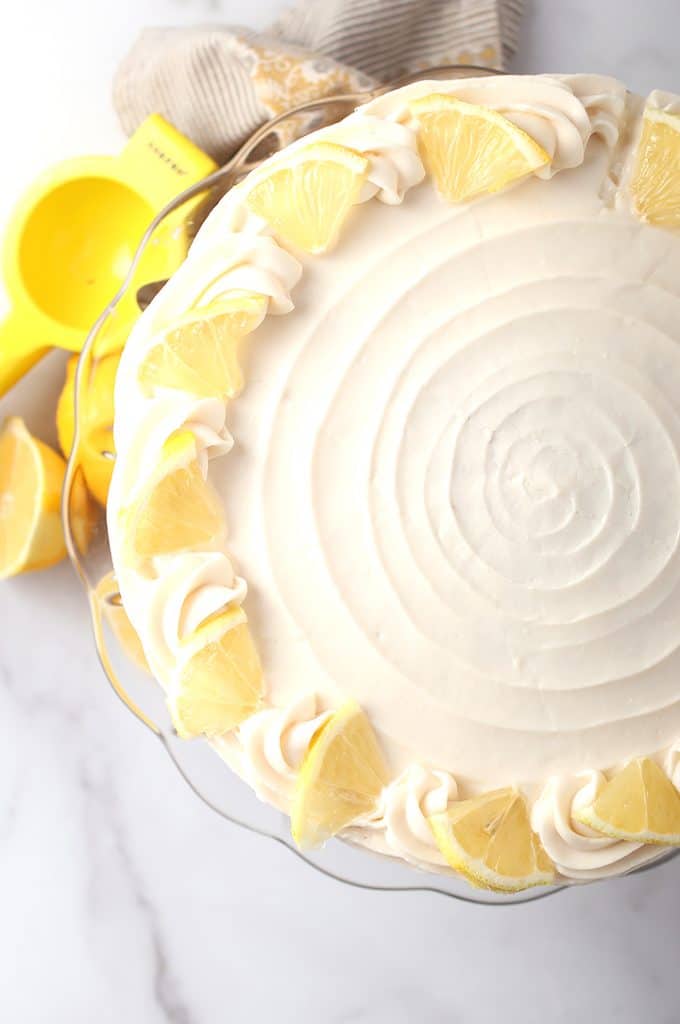
To assemble the cake, carefully cut it in thirds. Here’s a helpful video tutorial on how to trim and cut a cake. Place about 1 cup of buttercream on the bottom layer of the cake, smooth oven evenly with an offset spatula, and top with a second layer. Repeat one more time and then coat the entire cake in the frosting.
Serving and Storing
Serving - Serve the cake immediately or place it in the refrigerator until ready to serve.
Storing - Store for up to 3 days in an airtight container in the refrigerator. This cake can also be store in the freezer for up to 3 months. When ready to serve, simply pull out and let thaw at room temperature.
Tips and Tricks
- The most accurate way to measure flour is to spoon it into your measuring cup, leveling it off with the back of a knife.
- Do not overmix. Overmixing allows the gluten strands to develop making the cake gummy. Mix until just combined to ensure a light, delicate crumb.
- Do not open the oven door while the cake is baking. This causes the structure to fall leaving you with a dent in the middle of your cake. You can check for doneness after 50 minutes.
- To prevent the cake from sticking, use parchment paper and generously spray the cake pan before filling it with batter.
- Bring your butter to room temperature before making the buttercream. If the butter is too cold, it won't incorporate into the powdered sugar and your buttercream will be lumpy.
- Let the cake cool for at least 45 minutes in the cake pans before turning it onto a wire cooling rack to cool completely. Let the cake cool completely before frosting. Otherwise, the buttercream frosting will melt off.
Frequently Asked Questions
Yes! This recipe will make 24 cupcakes. When making cupcakes, line the muffin tin with baking cups generously spray the cups with cooking spray. Bake the cupcakes for about 20-25 minutes until a toothpick inserted in the middle comes out clean.
Yes. I have had a lot of luck with Bob's Red Mill 1:1 Gluten-Free Baking Flour (<<affiliate link). That is the only gluten-free flour I've tried for these cupcakes but I'm sure other 1:1 ratio flours would work as well.
There are a few reasons your cake might have fallen. (1) You opened the oven door before the cake was set. (2) You over mixed the batter allowing too much air to get in. (3) Your baking powder was expired. (4) Your oven was set too high causing it to rise too rapidly before baking in the middle.
Yes! If you are short on time and want to make vegan cupcakes from boxed cake mix, simply substitute each egg with ¼ cup of applesauce. Additionally add an extra ¼ teaspoon of baking soda to help the cupcakes rise.
Yes! This vegan cake can be made in advance. To do this, bake the cake according to the instructions. Once the cake is cool, wrap it tightly in plastic wrap and place it in the freezer. This cake can be frozen for up to 2 months. When ready to frost, let the cake thaw at room temperature for 3-4 hours.
The buttercream can be made up to 5 days in advance. Store it in an airtight container in the refrigerator.
More Vegan Cake Recipes
Get inspired and check out all my vegan cake and cupcake recipes!
Vegan Vanilla Cake with Vanilla Buttercream
Ingredients
Vanilla Cupcakes
- 3 ½ cup all-purpose flour
- 2 cup granulated sugar
- 2 tablespoon baking powder
- 1 teaspoon salt
- 1 ½ cup non-dairy milk, I use almond
- ½ cup + 2 tablespoon vegetable oil
- ½ cup apple sauce
- ½ cup water
- 1 tbsp. vanilla extract
Vanilla Buttercream
- 1 cup vegan butter, at room temperature
- 5 cups powdered sugar
- 1 tbsp. non-dairy milk
- 2 teaspoon vanilla extract
Instructions
To make the cake
- Preheat the oven to 350 degrees F. line (1) 8” or 9" cake pan with parchment paper. Spray with cooking spray and set aside.
- In a medium bowl, sift together the flour, sugar, baking powder, and salt. In a separate bowl combine the non-dairy milk, oil, apple sauce, water, and vanilla extract. Add the wet ingredients to the dry and gently whisk together until the batter is evenly hydrated and fairly smooth.
To make vanilla buttercream
- In a stand-up mixer, using your paddle attachment, cream the vegan butter on high for 3 minutes, scraping down the sides as necessary. Turn mixer to low and slowly add powdered sugar with motor running, again scraping down the sides as necessary. Once the powdered sugar is incorporated, turn the mixer back up to high and beat for another 3-5 minutes until thick and creamy. Turn down mixer, add non-dairy milk and vanilla extract and beat until combined.
Decorate the Cake
Notes
- Do not overmix. Overmixing allows the gluten strands to develop making the cake gummy. Mix until just combined to ensure a light, delicate crumb.
- Do not open the oven door while the cakes are baking. This causes the structure to fall leaving you with a dent in the middle of your cakes. You can check for doneness after 50 minutes.
- Let the cake completely before decorating to prevent the buttercream from melting.
- For a helpful tutorial on how to trim and cut a cake, here’s a helpful video tutorial.
- Make sure to let the melted chocolate cool for at least 5 minutes before adding it to your buttercream. Otherwise the heat from the chocolate may cause your buttercream to break.
- For a gluten-free option, use Bob’s Red Mill 1:1 Gluten-Free Baking Flour.
- Can this recipe be made into cupcakes? Yes! This recipe will make 24 cupcakes. When making cupcakes, line the muffin tin with baking cups generously spray the cups with cooking spray. Bake the cupcakes for about 20-25 minutes until a toothpick inserted in the middle comes out clean.
- Can I make this recipe gluten-free? Yes. I have had a lot of luck with Bob’s Red Mill 1:1 Gluten-Free Baking Flour. That is the only gluten-free flour I’ve tried for these cupcakes but I’m sure other 1:1 ratio flours would work as well.
 Hi, I’m Sarah. I’m a 14-year (and counting) vegan, professionally trained photographer, former pastry chef, founder of My Darling Vegan, and author of the
Nastasha McAden says
This recipe was delicious my go to vegan cake!!!!
Sarah says
This cake has good flavor, it makes a lot of batter. My cake came out pretty dense.
Melissa says
Can coconut flour be used instead and if so, would it be the same measurement as listed. Thanks.
Amy says
Can I use regular milk?
Aly says
This makes waaaay too much for 1 9” cake pan. Did you mean to put 2?
Amanda says
I really love your vanilla cake recipes! I was wondering...have you ever tried cake flour instead? Curious to try it...
Thanks!
Rachel says
We love your vanilla cupcakes and I am hoping that I can make this cake in a sheet pan. My children like to choose a cake from ‘Australian woman's Weekly’ kids cake book and many of these fun shaped cakes start with a square or rectangle cake. Could I bake this in a 20x30cm or similar tin?
Many thanks
T says
This cake was exactly what I was looking for. It was light and airy, but not crumbly. Moist and flavorful without being dense. It has a nice aroma, and is not too sweet. It tastes just like a well made non-vegan vanilla cake.
KC says
This recipe sounds amazing and the cake looks yummy! The picture shows cake layers, yet the instructions say one pan. If I want to make a 2 or 3 layer cake- should I double or triple the recipe? Thank you, KC