The perfect Vegan Gingerbread Cookies! They are sweet, spicy, and with a delightful crunch. If you want, you can make them a little healthier by using coconut sugar. You won't even be able to taste the difference!

Disclosure: This post may contain affiliate links.
This recipe is sponsored by Bob's Red Mill. All opinions are 100% mine.
It's that time of year again!
Yep, it's time to get out your wire whisks and paper piping bags, stock up on spices and sweeteners, and put on your stretchy pants...we are gonna start baking. And we are starting with these vegan gingerbread cookies.
These vegan gingerbread men are just as you imagine they would be. Sweet, spicy, and with that perfect crunch. Start your baking tradition by whipping up a batch of these easy cookies and sharing them with your friends and family.
Recommended Ingredients & Equipment
You don't need much to make these vegan cookies. And best of all, they are likely ingredients you already have on hand!
Here is everything you need.
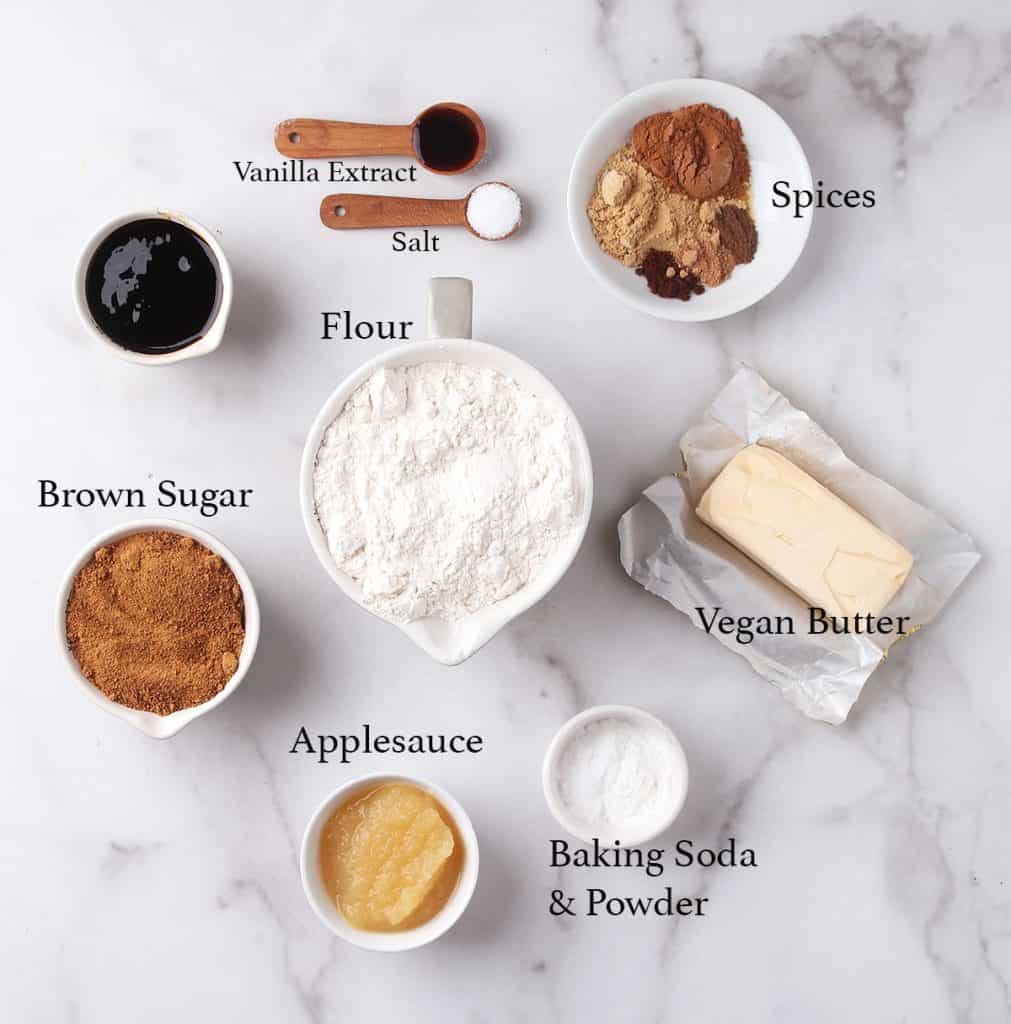
Ingredient Notes
- Vegan Butter – Look for a high-quality non-hydrogenated vegan butter.
- Brown Sugar – Check out my guide to vegan sugars and healthy sugar alternatives. I recommend trying these cookies with coconut sugar.
- Applesauce – The applesauce acts as the binder for these cookies. You can’t taste the applesauce but if you would prefer a different kind of egg replacer, check out my complete guide on replacing eggs to get a few more ideas.
- All-Purpose Flour - Bob’s Red Mill is my go-to brand of flour and the only one I recommend. They offer a great selection of gluten free and organic flours to help make recipes taste better and fit all lifestyles. Read all about why I love Bob’s Red Mill below. For a gluten free option, try this recipe with Bob's Red Mill 1:1 Gluten-Free Flour Baking Blend.
- Spices – You will need a combination of ground cinnamon, ginger, nutmeg, allspice, and cloves.
My Go-To Flour
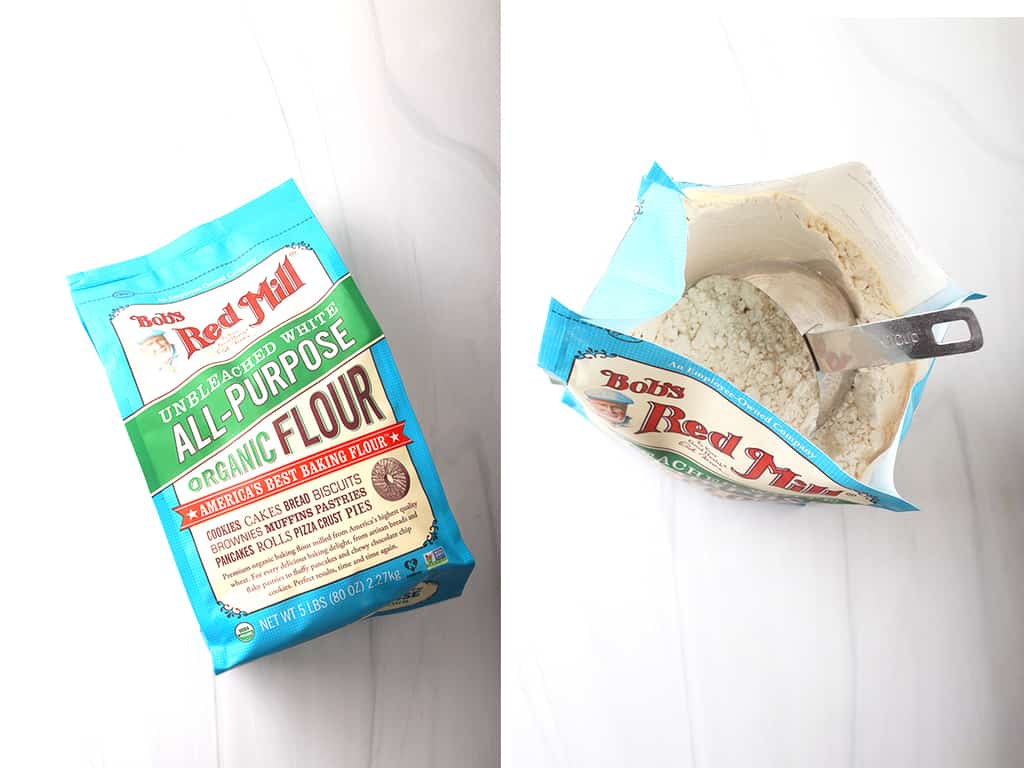
I use Bob’s Red Mill products in almost all of my baked goods. They offer the largest selection of vegan, paleo, and gluten free flours that fit with everyone’s dietary needs.
Bob’s Red Mill is an employee-owned company with the largest lines of organic, whole grain foods in the country.
For over three decades, the company has been committed to providing people everywhere with the best quality foods available. All of their products are certified Kosher and made with ingredients grown from non-GMO seeds. And their products are minimally processed which means the grains are about as close to nature as possible before hitting your table.
And you can taste the difference! Find Bob's Red Mill at your local grocery store and you'll see why I am such a huge fan!
Recommended Equipment
For all my cookie recipes, I recommend a stand-up mixer. These make whipping, beating, and blending so much easier. However, they are pricy and if they are not in your budget, you can make cookies by hand or with a handheld mixer.
In addition, you will need basic cooking equipment including baking sheets, silicone baking mats, a rolling pin, cookie cutters, and a wire cooling rack. (<<affiliate links)
Step-by-Step Instructions
Step One - Make the Dough
To begin, mix together the dry ingredients in a medium bowl. That’s the flour, baking soda, baking powder, salt, and spices. Next, using a stand-up mixer, cream together the butter and sugar until the mixture is light and airy. Add the molasses and applesauce and combine.
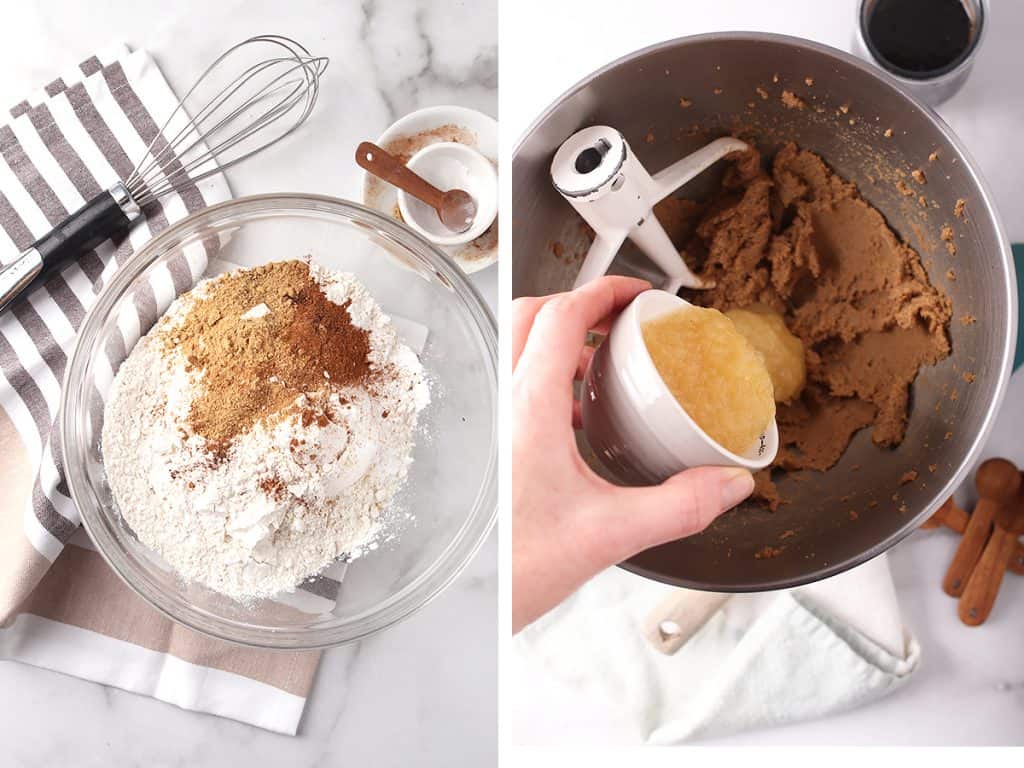
The dough may look a little curdled at this point. That’s okay! It will sort itself out once the rest of the ingredients are added.
Add the dry ingredients and mix to combine. Do not overmix that dough. Once you add the flour, mix it until it just starts coming together. At that point, turn it out onto a floured work surface and bring it together with your hands. Otherwise, your cookies will be tough and brittle.
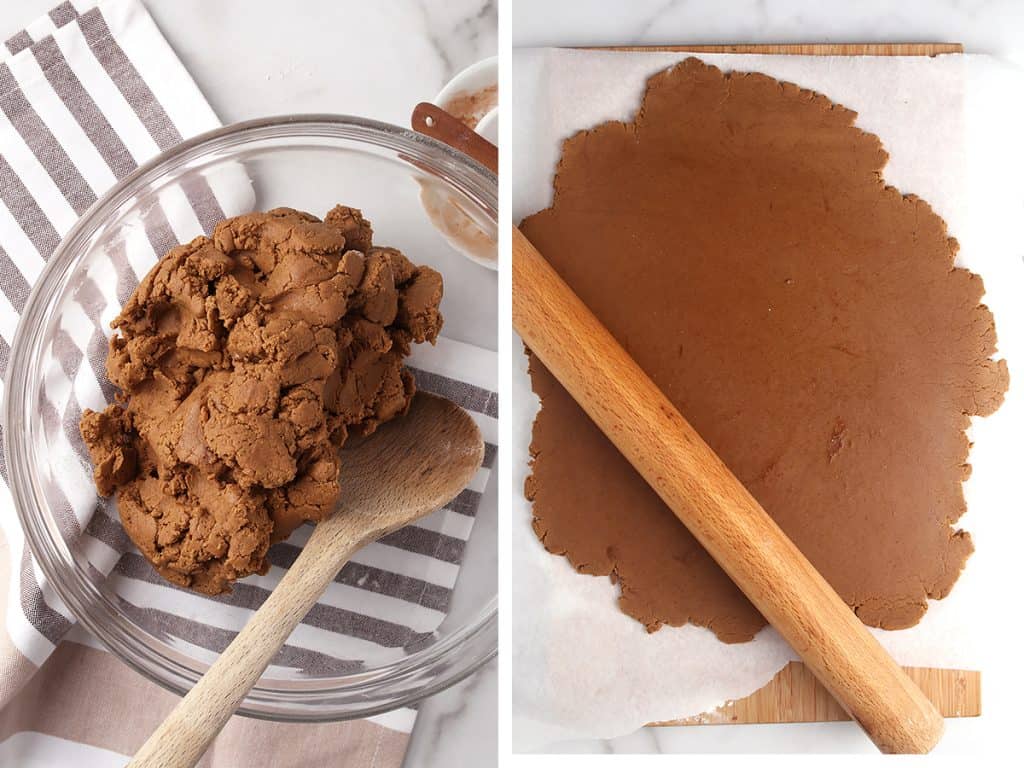
Transfer the dough to a piece of parchment paper, top it with another piece of paper, and roll out to about ¼ inch thick.
Refrigerate for 1 hour.
Step Two - Bake the Cookies

Preheat the oven to 400 degrees F. Once your dough is chilled, cut out shapes with your cookie cutters.
Pro Tip: Avoid rolling out the dough many times. Each time the dough is rolled, it will get more cracked and dense. Keep the shapes as close together as possible.
Bake the cookies for 9-11 minutes, until browned on the edges and cooked all the way through. Allow the cookies to cool for 5 minutes on baking sheets before transferring them to a wire rack to cool completely.
Step Three - Decorate with Icing

While the cookies are cooling, whisk together sugar and milk until it is completely smooth. You may need to adjust the wet and dry ingredients. Make sure the frosting is pipeable but not so thin that it will lose its shape once on the cookie.
Once the cookies are completely cool, decorate them with royal icing.

Serving and Storing
Store Cookies: Once cookies are completely cool, store them in an airtight container at room temperature for up to 5 days. Raw dough can be frozen for up to 2 months.
Freeze Cookie Dough: If you only want to make only a few at a time, you can store the remaining dough in the freezer. To do this, shape the cookies into their shapes and place them in a single layer on a baking sheet. Set them in the freezer to freeze all the way through. Once frozen, transfer the unbaked cookies to a large ziplock bag and return them to the freezer. You can store the cookies this way for up to 2 months. When you’re ready to bake, remove them from the freezer and bake!
Tips and Tricks
- Do not over mix that dough. Once you add the flour, mix it until it just starts coming together. At that point, turn it out onto a floured work surface and bring it together with your hands.
- Chill your dough. Make sure to chill your dough for at least one hour before baking it. This allows the dough to firm up and hold its shape in the oven.
- Bake at a higher temperature. For that crispy texture bake your gingerbread cookies at 400F.
- Do not overbake. Once those edges have just begun browning pull them out. The cookie will continue to harden as it cools.
- Let cookies cool on baking sheets 10 minutes before transferring to a wire cooling rack. This prevents cookies from falling apart as they cool.
Frequently Asked Questions
You can find Bob's Red Mill at most well-stocked grocery stores. To see if your local grocery store carries Bob's Red Mill, check out this store locator.
Yep! For a gluten-free option, try this recipe with Bob's Red Mill 1:1 Gluten-Free Flour Baking Blend.
If you need some ideas on how to decorate your vegan gingerbread men, check out this video tutorial. You will need a piping bag to finish these cookies.
The edges of the cookies will become lightly brown. You can also check for doneness by lightly pressing your finger in the center of the cookie. The cookies should be soft but not so soft that your finger goes through easily. Don't let them get too hard. They will continue to harden as they cool.
For sure! Feel free to add sprinkles, vegan candies, or more frosting to your gingerbread people.
More Vegan Christmas Cookie Recipes
- Vegan Eggnog Cheesecake Thumbprint Cookies
- Red Velvet Crinkle Cookies
- Hazelnut Sandies
- Chocolate-Dipped Rosemary Shortbread Cookies
For more inspiration, make sure to grab a copy of my FREE Christmas Cookie Recipe eBook.

Vegan Gingerbread Cookies
Ingredients
Gingerbread Cookies
- 3 cups all-purpose flour
- 1 teaspoon baking powder
- ¾ teaspoon baking soda
- ¼ teaspoon salt
- 1 tablespoon ground ginger
- 2 teaspoon ground cinnamon
- ¼ teaspoon ground cloves
- ⅛ teaspoon nutmeg
- ⅛ teaspoon allspice
- ½ cup vegan butter
- ½ cup brown sugar
- ¼ cup blackstrap molasses
- ¼ cup applesauce
- 1 teaspoon vanilla extract
Royal Icing
- 1 ½ cup powdered sugar
- 1 tablespoon vegan butter, melted
- 1-2 tablespoons non-dairy milk
Instructions
- To begin, mix together the dry ingredients in a medium bowl. That’s the flour, baking soda, baking powder, salt and spices. Set aside.
- In a stand-up mixer, cream together the butter and sugar until the mixture is light and airy. Add the molasses and applesauce and combine. The dough may look a little curdled at this point. That’s okay! It will sort itself out once the rest of the ingredients are added.
- Add the dry ingredients and mix to combine. Do not over mix that dough. Once you add the flour, mix it until it just starts coming together. At that point, turn it out onto a floured work surface and bring it together with your hands.
- Transfer the dough to a piece of parchment paper, top with another paper and roll out to about ¼ inch thick. Refrigerate for 1 hour.
- Preheat the oven to 400 degrees F. Once your dough is chilled, cut out shapes with your cookie cutters. Bake the cookies for 9-11 minutes, until browned on the edges and cooked all the way through. Allow the cookies to cool for 5 minutes on baking sheets before transferring to a wire rack to cool completely.
- While cookies are cooling, whisk together sugar and milk until it is completely smooth. You may need to adjust the wet and dry ingredients. Make sure the frosting is pipeable but no so thin that it will lose its shape once on the cookie.
Notes
- Do not over mix that dough. Once you add the flour, mix it until it just starts coming together. At that point, turn it out onto a floured work surface and bring it together with your hands.
- Chill your dough. Make sure to chill your dough for at least one hour before baking it. This allows the dough to firm up and hold its shape in the oven.
- Do not overbake. Once those edges have just begun browning pull them out. The cookie will continue to harden as it cools.



 Hi, I’m Sarah. I’m a 14-year (and counting) vegan, professionally trained photographer, former pastry chef, founder of My Darling Vegan, and author of the
aYlNlfdX says
aYlNlfdX